Plumber’s tape, also known as Teflon tape, is a handy tool used to seal plumbing connections and prevent leaks. Whether you’re tackling a DIY plumbing project or simply making a quick repair, it’s important to understand the ins and outs of using plumber’s tape to ensure a successful outcome.
In this article, we’ll explore the key considerations to keep in mind before reaching for that roll of tape.
Table of contents
11 things to consider when using plumber’s tape
1. Proper application
Ensure that the tape is applied in the right direction, which is generally clockwise when viewed from the end of the pipe. This allows for a tight seal when the fitting is screwed on.
2. Clean the threads
Thoroughly clean and dry the pipe threads before applying the tape. This helps remove debris, rust, or old tape that could interfere with a proper seal.
3. Use the right tape thickness
Choose the appropriate thickness of plumber’s tape for the job. Standard thickness is suitable for most applications, but thicker tapes are available for larger or high-pressure fittings.
4. Apply adequate tension
Apply enough tension to the tape while wrapping it around the threads. This ensures a tight fit and prevents the tape from unraveling during installation.
5. Avoid excessive tape usage
Using excessive amounts of tape can lead to overtightening and potential damage to the fittings. A few wraps are usually sufficient, with two to three layers being the norm.
6. Cover the entire thread surface
Ensure that the entire thread surface is covered with plumber’s tape. Leaving gaps or exposed threads can result in leaks.
7. Avoid overlapping tape on the end
Overlapping the tape on the first thread can cause it to unravel or interfere with the connection. Trim any excess tape at the end of the thread.
8. Use the correct tape for the material
Different types of tape are available for various pipe materials, such as metal or plastic. Choose the appropriate tape compatible with the pipe material to ensure a secure seal.
9. Check for compatibility with chemicals
If you are working with pipes carrying chemicals or gases, make sure the plumber’s tape is compatible with the substances being transported. Certain chemicals may degrade or react with the tape.
10. Don’t rely solely on tape for sealing
Plumber’s tape is primarily used for creating a leak-resistant seal, but it should not be the only method of sealing. It is crucial to follow the manufacturer’s recommendations for fittings, washers, and sealants.
11. Test for leaks
Once the fitting is secured, test the connection for leaks by turning on the water or applying pressure to the system. If any leaks are detected, check the installation and reapply the tape if necessary.
Why do you need to use plumber’s tape?
Plumber’s tape is used to create a tight and secure seal between threaded plumbing fittings.
It serves as a barrier that prevents leaks in joints and connections by filling the gaps between the threads.
The tape’s primary function is to act as a lubricant, making it easier to tighten the fittings while also providing a layer of insulation against potential leaks caused by the natural movement of pipes.
Plumber’s tape is an essential tool in plumbing installations, repairs, and maintenance, ensuring reliable and leak-free connections in both residential and commercial settings.
When should plumber’s tape be used?
- Pipe fittings: Plumber’s tape is commonly used when installing or repairing pipe fittings such as elbows, couplings, tees, and unions. It helps create a secure and leak-resistant connection between the threaded components.
- Showerheads and faucets: When attaching showerheads or faucets to the water supply pipes, plumber’s tape is applied to the threads to ensure a tight seal and prevent water leaks at these connections.
- Threaded valves: Plumber’s tape is used when connecting valves, such as ball valves or gate valves, to the plumbing system. It helps create a watertight seal and ensures smooth operation of the valve.
- Hose connections: When attaching hoses to outdoor faucets, sprinklers, or other hose fittings, plumber’s tape can be used to prevent leaks at the threaded connections.
- Gas line connections: Plumber’s tape designed for gas applications is used to seal threaded connections in gas pipes. It helps prevent gas leaks, which are potentially hazardous.
- Plumbing repairs: Whether you’re replacing a faulty fitting or repairing a leaky joint, plumber’s tape can be applied during the reassembly process to ensure a secure and leak-free connection.
How to apply plumber’s tape properly to pipes
To apply plumber’s tape properly to pipes, follow these steps:
- Prepare the pipe: Ensure that the pipe threads are clean and dry. Use a wire brush or cloth to remove any debris, rust, or old tape from the threads. This ensures a clean surface for the tape to adhere to.
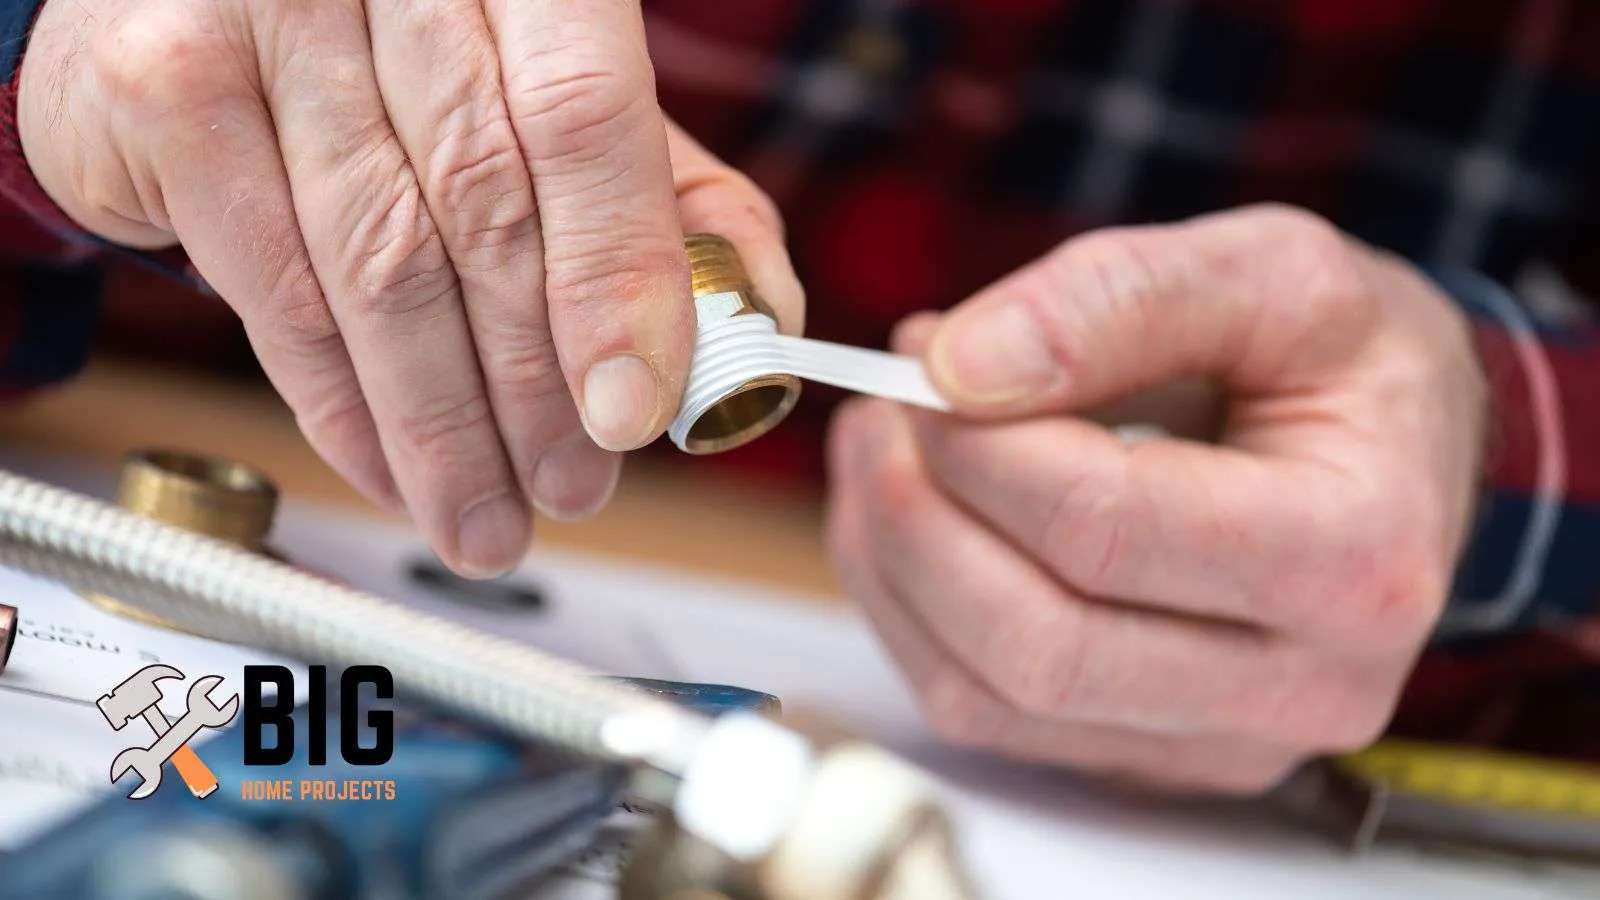
- Start at the end: Hold the end of the pipe with one hand and start wrapping the tape in a clockwise direction (when viewed from the end of the pipe) around the threads. Keep a firm grip on the end of the pipe to prevent the tape from unraveling.
- Apply tension: Apply slight tension to the tape as you wrap it around the threads. This helps create a tight seal and prevents the tape from loosening or unraveling during installation.
- Overlap the tape: Continue wrapping the tape around the pipe, overlapping each wrap slightly by about half the width of the tape. This ensures that the threads are fully covered and sealed.
- Maintain a consistent wrap: Maintain consistent pressure and tension as you wrap the tape. Avoid stretching the tape too tightly, as it may tear or break. A snug and even wrap is sufficient.
- Continue wrapping: Continue wrapping the tape until you have covered the entire threaded section. Typically, two to three layers of tape are sufficient, but you can add more if needed for larger or high-pressure fittings.
- Trim the excess: Once you reach the end of the threaded section, tear or cut the tape cleanly. Avoid overlapping the tape on the first thread to prevent interference during connection.
- Smooth down the tape: Use your fingers to smooth down the wrapped tape, ensuring that it adheres well to the threads and there are no loose or protruding sections.
- Install the fitting: With the tape applied, screw the fitting onto the pipe by turning it clockwise. The tape should compress and create a tight seal as the fitting is tightened.
- Test for leaks: After installing the fitting, test the connection for leaks by turning on the water or applying pressure to the system. If any leaks are detected, check the installation and reapply the tape if necessary.
How to tell if plumber’s tape is properly applied?
To determine if plumber’s tape is properly applied, there are a few indicators to look for.
First, the tape should be wrapped securely and evenly around the threads, covering the entire threaded section without any gaps or exposed areas.
It should adhere well to the threads without any loose or protruding sections.
When connecting the fitting, the tape should compress and create a snug seal without any signs of leakage.
After installation, you can test the connection by turning on the water or applying pressure to the system.
If there are no leaks detected at the joint, and the connection remains secure over time, it is a good indication that the plumber’s tape has been applied correctly.
Different types of plumber’s tape
Standard white plumber’s tape
This is the most commonly used type of tape and is suitable for general plumbing applications. It is made of polytetrafluoroethylene (PTFE) and provides a reliable seal for most pipe materials and thread sizes.
Yellow gas line tape
This type of tape is specifically designed for gas pipe connections. It is thicker and denser than a standard plumber’s tape and is typically color-coded yellow for easy identification. Gas line tape is resistant to the chemicals and pressure associated with gas systems.
Pink tape for water lines
Pink plumber’s tape is specifically designed for use with water lines, especially in plumbing systems that transport potable water. It meets specific regulations and standards for safe use in water applications.
What types of fittings can plumber’s tape be used on?
- Pipe couplings: Plumber’s tape is commonly used when connecting pipe couplings, which are fittings used to join two pipes together.
- Elbows: Elbows are fittings that change the direction of the pipe. Plumber’s tape helps create a tight seal when connecting pipes to elbow fittings.
- Tees: Tees are fittings that create a T-shaped junction in a plumbing system. Plumber’s tape is used to ensure a secure seal when connecting pipes to tee fittings.
- Unions: Unions are fittings that allow for easy disconnection of pipes for maintenance or repairs. Plumber’s tape is applied to the threaded connections of unions to prevent leaks when the pipes are joined.
- Valves: Plumber’s tape is commonly used when installing valves, such as ball valves or gate valves, to create a tight seal at the threaded connections.
- Showerheads and faucets: Plumber’s tape is applied to the threads when connecting showerheads or faucets to water supply pipes, ensuring a secure and leak-free connection.
- Hose fittings: Plumber’s tape can be used on hose fittings, such as connectors or adapters, to prevent leaks at the threaded connections.
Are there any risks associated with using plumber’s tape?
- Over-tightening: Excessive tightening of fittings with plumber’s tape can lead to damage, especially when used on fragile materials like plastic or brittle pipes. Applying too much force can cause cracks, leaks, or even breakage.
- Inadequate sealing: Plumber’s tape should not be solely relied upon for sealing critical connections. It is essential to use appropriate fittings, washers, or sealants as recommended by the manufacturer to ensure a reliable and durable seal.
- Compatibility with chemicals: Some chemicals or substances may degrade or react with plumber’s tape, compromising its effectiveness. When working with pipes carrying specific chemicals or gases, it is crucial to ensure the tape is compatible with the substances being transported.
- Improper tape thickness: Using the wrong tape thickness for the job can affect the seal’s effectiveness. Thicker tapes are typically required for larger or high-pressure fittings, while standard thickness is suitable for most applications. Using an inadequate thickness may result in leaks.
- Tape unraveling: If the plumber’s tape is not applied with sufficient tension or if there are gaps in coverage, it may unravel during installation or over time, leading to leaks and an insecure connection.
What should you not use plumber’s tape on?
- Compression fittings: Plumber’s tape should not be used on compression fittings, which rely on a compression ring or ferrule to create a seal. The use of tape can interfere with the proper functioning of the compression mechanism.
- Flared fittings: Flared fittings, commonly used in gas connections, have a flared end that creates a seal when tightened against a matching surface. Plumber’s tape is not necessary or suitable for flared fittings, as it can affect the sealing capability and cause leaks.
- Soldered connections: Plumber’s tape is not required or recommended for soldered connections, where pipes are joined using heat and solder. The soldered joint itself provides a secure seal, eliminating the need for additional sealing materials.
- Plastic or PVC fittings: While plumber’s tape can be used with certain plastic or PVC fittings, it is important to verify compatibility with the specific material. Some plastic fittings may require specialized sealants or methods for proper sealing.
- High-pressure hydraulic systems: Plumber’s tape is generally not recommended for high-pressure hydraulic systems. These systems often require more robust sealing methods, such as O-rings, gaskets, or thread sealants designed for hydraulic applications.
Is plumber’s tape safe to use on drinking water pipes?
Plumber’s tape is generally safe to use on drinking water pipes when it is specifically labeled and approved for potable water applications.
It is crucial to ensure that the tape you use is explicitly designed and certified for use with drinking water systems.
Look for plumber’s tape that meets relevant standards, such as NSF/ANSI Standard 61 for drinking water system components.
Using tape specifically approved for potable water helps ensure that the tape does not introduce any harmful chemicals or contaminants into the water supply.
When in doubt, consult manufacturer guidelines or seek advice from a professional plumber to ensure the safe use of plumber’s tape on drinking water pipes.
Other interesting articles:
- Top 10 Things Expert Plumbers Recommend for New Homeowners
- Why Do Plumbing Right? (11 Plumbing Disasters Due to Negligence)
- How Much Does Plumbing Repair Cost? (21 Types of Repair and Costs)
- Does Plumbing Require Electricity? (10 Appliances That Do and Don’t)

Author: Logan
I help people connect with businesses
