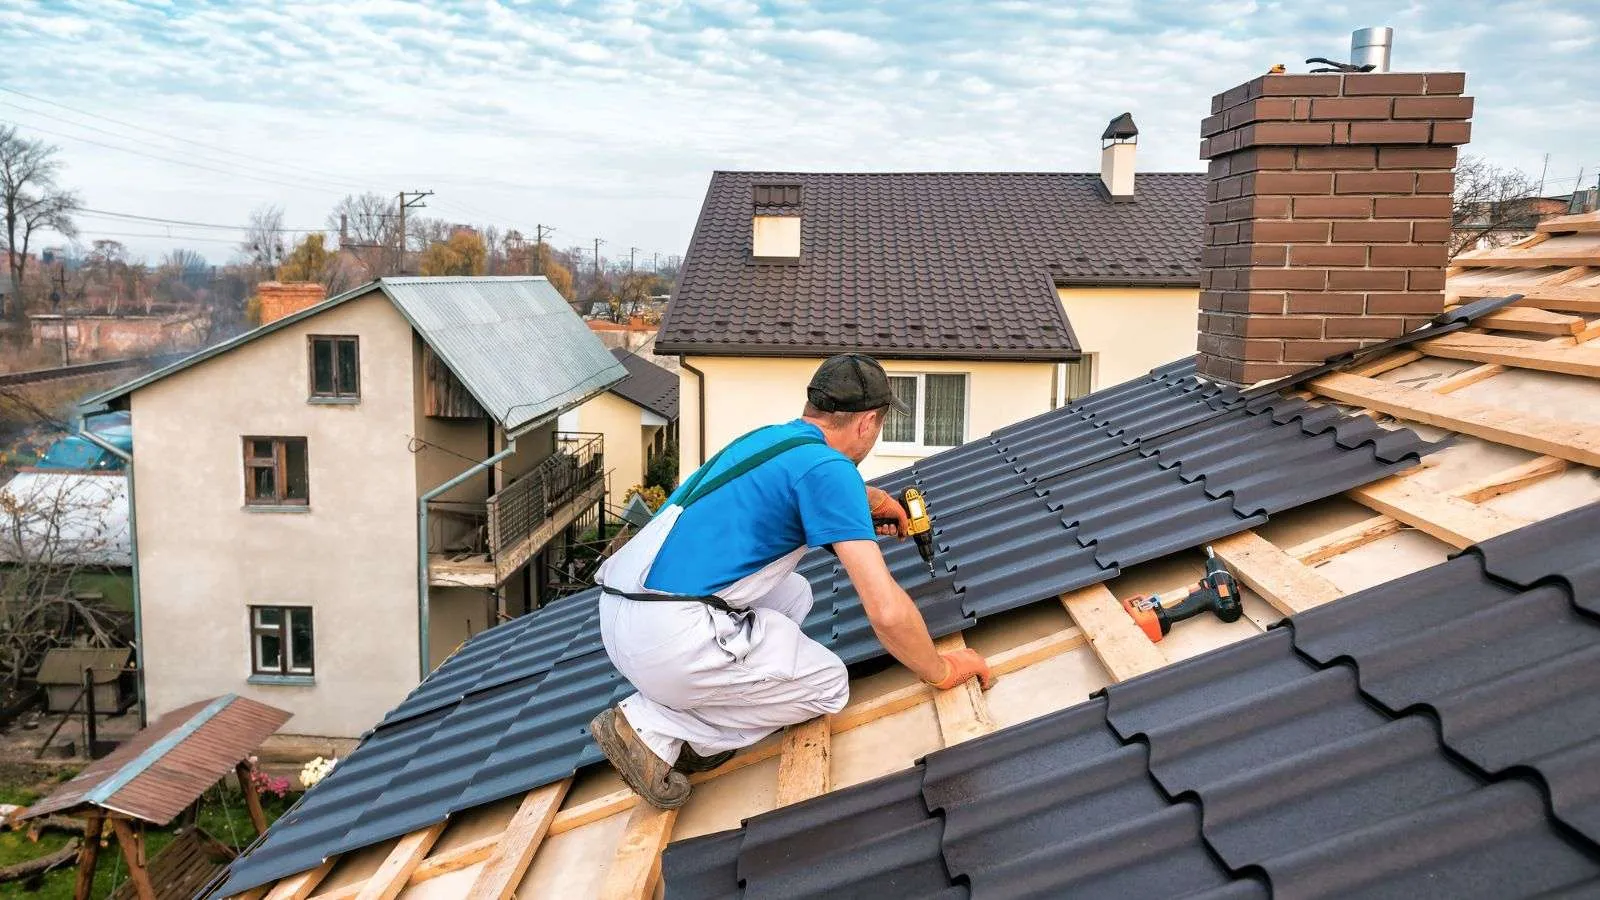
Proper nail spacing and placement are crucial factors in the longevity and durability of aluminum roofs. Ensuring that nails are correctly driven and spaced prevents potential issues and helps maintain the roof’s integrity.
In this article, we will cover proper nail spacing, its importance, and the steps to achieve the perfect nail placement for your aluminum roofing project.
Table of contents
Proper nail spacing and placement in aluminum roofs
For metal edging, use 1 and 1/4-inch roofing nails spaced four to six inches apart. For the drip edge, use 1 and 1/4-inch galvanized roofing nails spaced about every 16 inches. When nailing the roofing underlayment, place nails every six inches in the middle of the fold area. Make sure you drive the nails so that the entire head tightly bears against the shingle and to avoid underdriving, overdriving, or driving them crookedly. If any nails are improperly driven, repair them promptly to maintain the roof’s integrity.
7 Crucial steps for proper nail spacing in aluminum roofs
1. Determine the appropriate nail size and type
Choosing the right nail size and type is crucial for proper nail spacing on aluminum roofs. Opt for 1 and 1/4-inch roofing nails, which are commonly used for this purpose. Make sure the nails are galvanized to provide resistance against corrosion and increase their durability.
2. Follow the recommended nail spacing guidelines
To achieve optimal results, you must adhere to the recommended nail spacing guidelines for different components of the aluminum roof. For metal edging, space the roofing nails four to six inches apart. When installing the drip edge, maintain a spacing of approximately 16 inches. For the roofing underlayment, aim to place nails every six inches in the middle of the fold area.
3. Position the nails correctly
When driving the nails into the aluminum roof, make sure to position them in a way that allows the entire head of the nail to bear tightly against the shingle. This promotes a secure attachment and reduces the risk of loosening or damage over time.
4. Avoid underdriving or overdriving the nails
Properly driving the nails is essential for their effectiveness. Avoid underdriving, which may result in loose connections, or overdriving, which can damage the roofing material. By driving the nails with just the right amount of force, you can maintain a secure and long-lasting installation.
5. Check for crookedly driven nails
Inspect each nail after installation to make sure they are not driven crookedly. Crookedly driven nails can compromise the structural integrity of the roof and lead to potential leaks or damage. If you notice any crookedly driven nails, try your best to rectify them promptly.
6. Repair incorrectly driven nails immediately
If you come across any nails that have been incorrectly driven, it is crucial to repair them without delay. Replace any underdriven or overdriven nails and drive them properly to provide a secure attachment. This proactive approach helps maintain the integrity and performance of your aluminum roof.
7. Regularly inspect and maintain your roof
Even with proper nail spacing, it is essential to conduct regular inspections and maintenance on your aluminum roof. Check for any loose or damaged shingles, as well as any signs of water intrusion or corrosion around the nails. Promptly address any issues to prevent further damage and maintain the longevity of your roof.
The importance of correctly driven nails in aluminum roofs
When nails are properly driven, with the entire head bearing tightly against the shingle, they provide a secure attachment that helps withstand various weather conditions and prevent water infiltration. Underdriven nails can result in loose connections and potential roof leaks, while overdriven nails may damage the roofing material and compromise its effectiveness.
Moreover, crookedly driven nails can weaken the roof’s overall strength and lead to further issues. By taking the time to drive nails correctly and promptly repairing any incorrectly driven ones, you can maintain the integrity of your aluminum roof and protect your property from potential damage.
Risks of overdriven and underdriven nails in roofing
Overdriven nails
- Risk of damaging the roofing material, such as creating cracks or splits in the shingles.
- Reduced holding power, which can lead to loose or dislodged shingles.
- Increased vulnerability to leaks and water damage due to compromised seals.
Underdriven nails
- Insufficient holding power makes shingles prone to being lifted or blown off in strong winds.
- Increased risk of leaks and water infiltration due to inadequate sealing.
- Compromised structural integrity of the roof, potentially leading to sagging or collapse over time.
Nail spacing guidelines for different parts of the roof
Metal edging
To secure the metal edging of your roof effectively, it is recommended to use 1 and 1/4-inch roofing nails. These nails provide sufficient strength and stability. When spacing the nails, aim to place them four to six inches apart. This spacing ensures that the metal edging is firmly secured in place, reducing the risk of displacement or damage during extreme weather conditions.
Drip edge
The drip edge plays a vital role in directing water away from the roof and preventing water damage. When installing the drip edge, you must use 1 and 1/4-inch galvanized roofing nails. These nails offer corrosion resistance, ensuring the long-term durability of the drip edge. For proper spacing, aim to place the nails approximately every 16 inches along the drip edge. This spacing helps maintain a secure attachment and ensures effective water management on your roof.
Roofing underlayment
The roofing underlayment provides an additional layer of protection for your roof, acting as a barrier against moisture and improving overall insulation. When nailing the roofing underlayment, it is recommended to place nails every six inches in the middle of the fold area. This spacing strategy allows for adequate coverage and support for the underlayment, creating a solid foundation for subsequent layers of roofing materials. By following this guideline, you can enhance the weather resistance and longevity of your roof.
Why correct nail placement is crucial for roofing underlayment
Nailing the underlayment properly allows for a secure attachment and prevents it from shifting or lifting during strong winds or adverse weather conditions. By placing nails every six inches in the middle of the fold area, the underlayment is held firmly in place, creating a stable foundation for subsequent layers of roofing materials. This helps maintain the underlayment’s protective barrier, preventing moisture infiltration and enhancing the roof’s resistance to leaks.
Proper nail placement distributes the load evenly across the underlayment, reducing the risk of premature wear or tear. By paying attention to correct nail placement, you can enhance the overall performance and longevity of your roofing system.
Consequences of incorrectly driven nails in roofing
- Loose or dislodged shingles: Incorrectly driven nails can result in loose connections between the shingles and the underlying structure, leading to shingle movement or even complete detachment during high winds or storms.
- Increased risk of leaks: Improperly driven nails may fail to create a tight seal between the shingles, leaving gaps that allow water to penetrate the roof. This can result in leaks and water damage to the underlying structure and interior of the building.
- Reduced structural integrity: Nails that are underdriven or overdriven compromise the structural integrity of the roof. Underdriven nails may not adequately secure the shingles, while overdriven nails can damage or weaken the roofing material, both of which can lead to a compromised roof structure.
- Weakened resistance to wind uplift: Incorrectly driven nails reduce the roof’s ability to withstand uplift forces exerted by strong winds. This can make the roof more susceptible to damage, such as shingle blow-offs, and increase the risk of further structural issues.
- Potential for accelerated wear and tear: Inconsistent nail placement and improper driving techniques can cause premature wear and tear on the roofing material. This may lead to a shorter lifespan for the roof, requiring earlier replacement or costly repairs.
Understanding the role of nail spacing in drip edge roofing
The proper spacing of nails helps with a secure attachment and the effective performance of the drip edge. By utilizing 1 and 1/4-inch galvanized roofing nails and spacing them approximately every 16 inches along the drip edge, the drip edge is firmly secured to the roof. This spacing allows for an even distribution of load and enhances the structural integrity of the drip edge, enabling it to effectively channel water away from the roof’s edge.
Correct nail spacing helps prevent water infiltration, reducing the risk of moisture damage to the underlying structure. By understanding and implementing the appropriate nail spacing in drip edge roofing, you can contribute to a durable and efficient roofing system that effectively protects your property from water-related issues.
Steps to correct improperly driven nails immediately
- Identify the improperly driven nails: inspect the roof carefully to identify nails that have been improperly driven, such as underdriven, overdriven, or driven crookedly. Look for signs of loose or damaged shingles or any visible irregularities in nail placement.
- Gather the necessary tools: Prepare the tools needed to correct the improperly driven nails. This may include a hammer, pry bar, or nail punch, depending on the specific type of correction required.
- Underdriven nails: For underdriven nails, carefully drive them deeper into the roofing material using a hammer. Apply sufficient force to make sure the nail head is flush with the surface of the shingle without causing any damage.
- Overdriven nails: To correct overdriven nails, use a pry bar or claw of a hammer to carefully lift the shingle above the nail. Then, drive the nail back down until the nail head is flush with the shingle surface.
- Crookedly driven nails: For crookedly driven nails, use a nail punch and hammer to carefully remove the nail. Once removed, reposition the nail and drive it correctly into place, ensuring that the nail head is tight against the shingle.
- Inspect and test: After correcting the improperly driven nails, thoroughly inspect the area to make sure they are now properly installed. Gently tug on the shingles surrounding the corrected nails to confirm their secure attachment.
- Repair any damage: If any damage occurred during the correction process, such as cracked or split shingles, make the necessary repairs promptly to maintain the roof’s integrity.
- Regular maintenance: Regularly inspect and maintain your roof to prevent future instances of improperly driven nails. Promptly address any issues to ensure the long-term performance and durability of your roof.
The ideal nail spacing for metal edging
The ideal nail spacing for metal edging in roofing is typically four to six inches apart. When securing metal edging, it is recommended to use 1 and 1/4-inch roofing nails. By spacing the nails at this interval, you guarantee a secure attachment of the metal edging to the roof, promoting stability and preventing displacement during inclement weather.
This spacing allows for an even distribution of the load and enhances the overall strength of the metal edging. Adhering to the recommended nail spacing guidelines for metal edging helps ensure a durable and reliable roofing system that effectively protects your property.
Do’s and don’ts of nail application in aluminum roofing
- Drive nails so that the entire head bears tightly against the shingle. Properly driving nails ensures a secure attachment and prevents potential issues such as loose connections or water infiltration.
- Don’t underdrive nails. Underdriven nails can result in loose connections, compromising the effectiveness and durability of the roof.
- Don’t overdrive nails: Overdriven nails may damage the roofing material, leading to cracks or splits in shingles and reducing their ability to protect the roof from the elements.
- Don’t drive nails crookedly. Crookedly driven nails can weaken the roof’s structural integrity, potentially leading to leaks or other forms of damage.
- Repair incorrectly driven nails immediately. If you notice any improperly driven nails, promptly repair them to maintain the roof’s performance and prevent further issues.
- Conduct regular inspections. Regularly inspect your aluminum roof for any signs of loose or damaged nails. Address any issues promptly to ensure the roof remains secure and watertight.
- Do follow manufacturer guidelines: Refer to the manufacturer’s guidelines and recommendations for nail application specific to your aluminum roofing system to keep up with proper installation and maintenance.
Maintaining roof integrity with proper nail placement and spacing
By ensuring that nails are correctly placed and spaced, the roof’s structural stability is enhanced, reducing the risk of loose or dislodged shingles during strong winds or storms. Proper nail placement, where the entire head bears tightly against the shingle, provides a secure attachment that helps prevent water infiltration and potential leaks.
Adequate nail spacing, following manufacturer guidelines, distributes the load evenly across the roof, minimizing the risk of premature wear or damage to the roofing material. By paying attention to proper nail placement and spacing, homeowners can contribute to a long-lasting and reliable roofing system that effectively protects their property for years to come.

Author: Logan
I help people connect with businesses
