Deciding to install a toilet where a shower used to be can pose various challenges and questions, including key practicalities, the repurposing of existing plumbing, and other fundamental requirements. This undertaking has implications for cost, the skills and tools required, and potential issues that may arise during installation.
In this article, we take a detailed approach to answering all these questions and guiding you, step by step, through the process of converting your shower space into one where a toilet is installed.
Can you install a toilet where a shower was?
Yes, it’s possible to install a toilet where a shower once was. The process involves rerouting the plumbing lines to accommodate the toilet. Shower drains are usually 2 inches in diameter, while toilet drains are 3 or 4 inches, so you would need to enlarge the drain hole.
You’ll also need to install a flange, which attaches the toilet to the floor and connects it to the drain pipe. You’ll need to ensure the new toilet is close enough to a vent stack for proper ventilation.
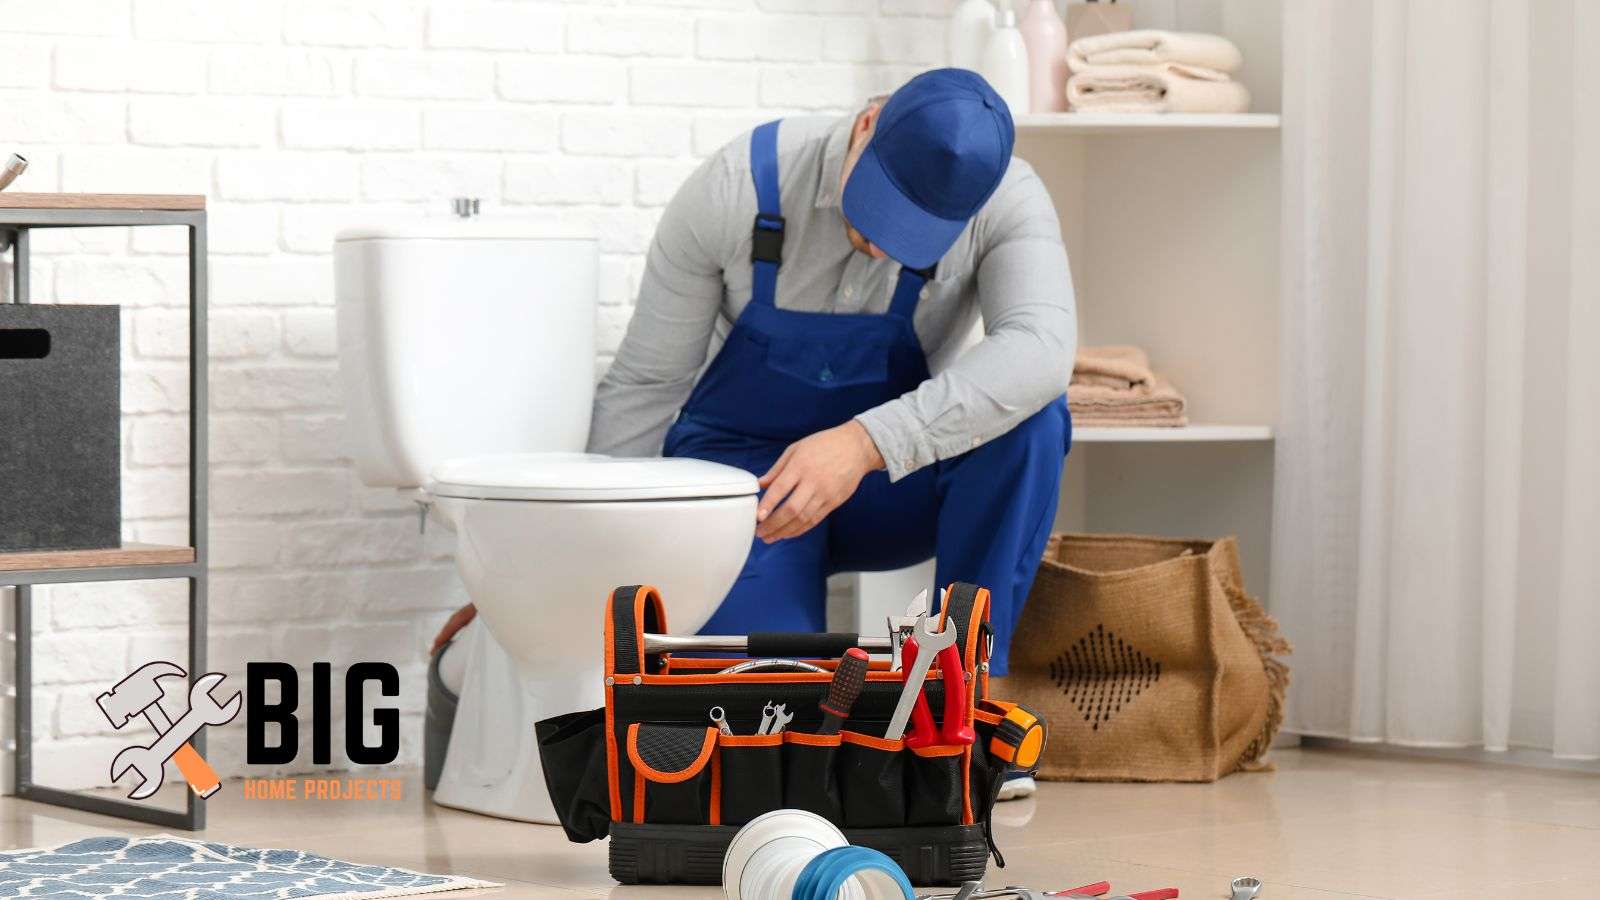
It’s a complex project that involves both plumbing and construction skills, so you might want to consider hiring a professional unless you’re confident in your DIY abilities.
5 common installation issues to look out for
1. Compatibility issues
Compatibility issues are one of the most common installation problems. This happens when the software or hardware you’re trying to install isn’t compatible with your operating system or other installed software. This can lead to crashes, slow performance, or the software not working at all. To fix this, make sure to check the system requirements of the software or hardware before installation. If needed, consider upgrading your system or finding a version of the software that is compatible with your current setup.
2. Insufficient system resources
If your system doesn’t have enough resources (CPU, RAM, and disk space), you may face difficulties during the installation process. Insufficient system resources can lead to slow or failed installations. To resolve this, you should close all unnecessary applications during the installation process to free up system resources. Also, consider upgrading your hardware if it frequently lacks resources.
3. Corrupted installation files
Corrupted installation files can prevent the installation process from completing successfully. This usually happens due to interrupted downloads, disk writing errors, or malware. To fix corrupted installation files, try downloading the files again from a trusted source. If you’re installing from a physical medium like a DVD, check for any physical damage or try installing on another device to see if the issue persists.
4. Lack of administrative privileges
Lack of administrative privileges is a common issue that prevents software from installing correctly. Some software requires administrative rights to make changes to system files or directories. If you don’t have these privileges, the installation may fail. To resolve this issue, ensure you’re logged in with an account that has administrative rights before starting the installation process.
5. Conflicts with existing software
Conflicts with existing software can cause installation problems. This happens when the software you’re trying to install interferes with a program that’s already installed on your system. This can cause crashes or prevent the software from working correctly. To fix this issue, try disabling or uninstalling the conflicting software before installing the new software. If the installation is successful, you can then try reinstalling the previously removed software.
How to install the toilet by yourself
- Gather the necessary tools and materials. Before you begin, make sure you have all the necessary tools and materials. These include a new toilet (with all its parts), a wax ring, toilet mounting bolts, a wrench, a screwdriver, a level, and possibly a hacksaw if you need to shorten the mounting bolts.
- Remove the old toilet. First, turn off the water at the shut-off valve and flush the toilet to drain the water from the tank and bowl. Using a wrench, disconnect the water supply line. Remove the nuts from the base of the toilet with a wrench or pliers. Lift the old toilet straight up and move it out of the way.
- Prepare the flange: Ensure that the flange (the pipe fitting that both mounts the toilet to the floor and connects it to the drain pipe) is clean, flat, and free of damage. If it’s broken or rusted, you’ll need to replace it. Place the new toilet mounting bolts in the slots on the flange.
- Install the wax ring: Take your new wax ring and place it over the flange. The wax ring creates a watertight seal between the bottom of the toilet and the sewer pipe.
- Place the toilet bowl in: Carefully lower the toilet bowl onto the flange, aligning the mounting bolts with the holes in the base of the toilet. Apply even pressure to compress the wax ring and create a seal.
- Secure the toilet: Once you’ve properly positioned the toilet, place a washer and nut on each mounting bolt. Tighten them carefully with a wrench, ensuring not to crack the toilet base. You may need to use a hacksaw to trim the bolts if they’re too long.
- Attach the tank: Place the rubber gasket that came with your new toilet on the bottom of the tank. Then set the tank onto the bowl, aligning the mounting holes. Insert bolts through the tank and into the bowl, securing them with nuts and washers.
- Reconnect water supply line to fill valve at bottom of tank and tighten carefully with a wrench. Turn on the water supply to fill the tank.
- Install the toilet seat: Follow the manufacturer’s instructions for installing the toilet seat. Typically, this involves securing it with plastic bolts through holes at the back of the bowl rim.
- Final check: Once you’ve installed the seat, do a final check for leaks at the base and water supply connection. Flush the toilet several times to ensure it’s flushing properly and there are no leaks.
What tools and materials are required for the job?
- New toilet (with all its parts): This is the main item you’ll be installing. It typically comes in two parts: the tank and the bowl.
- Wax ring: This is used to create a watertight seal between the toilet and the floor flange that connects to the drain pipe.
- Toilet mounting bolts: These are used to secure the toilet to the floor. They’re inserted into the slots of the flange.
- Wrench: A wrench is a versatile tool used for tightening and loosening bolts and nuts. You’ll need it to secure the nuts on the mounting bolts and to connect the water supply line.
- Screwdriver: Screwdrivers are used for driving or removing screws. You might need one for attaching the toilet tank to the bowl or for installing the toilet seat.
- Level: A level is used to make sure that surfaces are straight horizontally or vertically. You’ll use it to ensure that your toilet is level during installation.
- Hacksaw (optional): A hacksaw is a fine-toothed saw designed for cutting metal. If your mounting bolts are too long after securing the toilet, you may need a hacksaw to trim them.
- Rubber gasket: The gasket ensures a tight seal between the toilet tank and bowl, preventing leaks. It’s usually provided with the new toilet.
- Plastic bolts: These are typically provided with the new toilet and are used to secure the toilet seat to the bowl.
- Water supply line: This is the pipe that supplies water to your toilet. You’ll need to disconnect it from your old toilet and reconnect it to your new one.
How to prepare the site for toilet installation
- Clear the area: Make sure the space where you’ll be installing the toilet is clear of any obstructions. This includes removing any decor, mats, or personal items. A clear workspace will make it easier for you to move around and install the new toilet.
- Turn off the water and remove the old toilet. Before you begin, turn off the water supply to the toilet, usually located behind the toilet near the floor. Flush the toilet to remove most of the water from the tank and bowl. Use a sponge or towel to soak up any remaining water. This will prevent spills when you remove the toilet. Unscrew the water supply line from the fill valve at the base of the toilet tank. Then, remove the bolts securing the toilet to the floor and carefully lift off the old toilet.
- Remove the old wax ring and inspect the flange. The wax ring is found around the flange. Use a putty knife to scrape off the old wax ring from the flange. Be sure to wear gloves during this process, as it can get messy. Once removed, inspect the flange for any damage. It should be clean, flat, and free of cracks or breaks. A damaged flange may need to be repaired or replaced before proceeding.
- Install new closet bolts. These bolts will secure your new toilet to the floor. They should be inserted into the slots on the flange. Make sure they’re positioned correctly and that they’re tight and secure.
- Level the floor: If your bathroom floor is uneven, use shims to level it before placing your new toilet. An uneven floor can cause your toilet to rock, which could lead to leaks or damage to the flange or wax ring over time.
- Check for obstructions: Before installing your new toilet, ensure there are no obstructions in the drain pipe. Obstructions can lead to clogs and other issues down the line. If you detect any blockages, remove them prior to installation.
What changes are needed in the plumbing?
Switching a shower into a toilet involves some significant changes to your plumbing, especially if the shower was not originally designed with a toilet in mind.
- Drainage: Toilets require a 3 to 4 inch drain pipe, while showers typically have a 2 inch drain. You’ll need to replace the existing shower drain with a larger pipe to accommodate the toilet.
- Flange installation: A toilet flange will need to be installed onto the larger drain pipe. The flange is what connects the toilet to the drain pipe and also serves as the mounting point for the toilet.
- Venting: Both showers and toilets require venting to prevent sewer gases from coming back up the pipes. If your shower is already properly vented, you might not need to make any changes. If not, a vent pipe will need to be installed.
- Water supply: Toilets require a water supply line, which may not be present in a shower-only setup. You’ll need to install a water supply line that can reach the fill valve on the bottom of the toilet tank.
- Spatial considerations: Ensure there is enough space to comfortably fit a toilet, adhering to local building codes for clearance around toilets.
How do I evaluate the existing drainage system?
- Identify the size of the drain pipe: Toilets generally require a 3 to 4-inch drain pipe. If the existing drain pipe is smaller, it will need to be replaced to prevent clogging.
- Check the slope: Drain pipes should have a slope to allow wastewater to flow away. The general rule is a quarter inch of slope per foot of pipe. A level can help determine if there’s enough slope.
- Inspect for damage: Look for any signs of damage, such as cracks, leaks, or corrosion, on your existing pipes. Damaged pipes can cause major issues and should be replaced.
- Test for clogs: Slowly draining water can indicate a clog in the system. You can test for clogs by running water through the pipes and observing how quickly it drains.
- Locate the vent pipe: Toilets require a vent pipe to allow sewer gases to escape and to maintain proper drainage flow. Ensure that there’s a vent pipe in place and that it’s not blocked.
- Check local codes: Finally, check your local building codes to ensure your drainage system is up to standard. Some areas may have specific requirements for things like pipe material or installation methods.
Is it possible to repurpose plumbing?
It is possible to repurpose plumbing in many cases. This is commonly done during home renovations when homeowners want to change the function of a room or area.
For example, converting a laundry room into a bathroom or installing a toilet where a shower used to be It involves redirecting the existing pipework to suit the requirements of the new fixtures.
However, this can be a complex task. The existing plumbing must meet the specific needs of the new fixture in terms of pipe size, water pressure, and drain capabilities.
Also, any changes must be in compliance with local building codes and regulations. Therefore, it’s recommended that such a project be carried out by a qualified plumber to ensure it’s done correctly and safely.
What are the preliminary requirements?
Before starting a project like repurposing plumbing, there are several preliminary requirements to consider.
First and foremost, you need to confirm that the existing plumbing system can accommodate the changes. This involves evaluating the size of the drain pipes, checking the venting system, and ensuring there’s a suitable water supply line.
You must ensure there’s sufficient space for the new fixture and that it complies with local building codes regarding clearance.
Consider how the changes will affect the overall layout and functionality of your home. Finally, depending on the scope of the project and the regulations in your area, you may need to obtain a permit before you can begin the work.
How do I get a local building permit?
Obtaining a local building permit typically involves several steps. First, you’ll need to visit your local municipal or city office, or their website, to understand the specific regulations and requirements for your area.
Some jurisdictions may require detailed plans or drawings of the proposed project, along with information about the contractors doing the work. Once you’ve gathered all the necessary information, you can submit your application either in person or online, depending on your local process.
There’s often a fee associated with the application. After submission, your application will be reviewed, which can take anywhere from a few days to a few weeks, depending on your locality.
If your application is approved, you’ll receive your permit and can begin work according to the approved plans.
What about the cost of this conversion?
The cost of converting a shower to a toilet can vary significantly based on various factors.
The average cost of installing a toilet, including labor and materials, typically ranges between $225 and $700, with the average cost around $375. The toilets themselves, depending on the brand and features, can cost between $100 and $450.
If extensive plumbing work is necessary for the conversion, such as replacing the drain pipe or adding a vent pipe, the labor costs can increase significantly.
Keep in mind that these are just average costs, and actual costs can vary depending on your specific situation, local labor rates, and the complexity of the conversion.
It’s always a good idea to get an estimate from a professional plumber to understand the potential costs involved in your specific project.