Aluminum roofs are a popular choice among homeowners due to their durability and energy efficiency. However, the process of nailing aluminum roofs can present several common challenges and mistakes that can impact the performance and longevity of the roof.
In this article, we’ll explore various aspects of nailing aluminum roofs, from choosing the right nails to proper installation techniques, and provide 10 professional tips to prevent common errors.
Table of contents
10 Pro tips to prevent the most common aluminum roofing errors
1. Use proper fasteners for aluminum roofing installation
Using the right fasteners is crucial for a successful aluminum roofing installation. Make sure to choose fasteners specifically designed for aluminum roofs to prevent corrosion and maintain a secure fit. Avoid using incompatible materials, such as galvanized fasteners, as they can cause galvanic corrosion.
2. Ensure proper ventilation for your aluminum roof
Proper ventilation is often overlooked but plays a significant role in the longevity of your aluminum roof. Adequate airflow helps regulate temperature and moisture levels, preventing issues like condensation and mold growth. Install vents and ridge caps to promote air circulation and maintain a healthy roofing system.
3. Avoid walking directly on the aluminum roof panels
Aluminum roofing panels are durable but can be prone to denting or bending if excessive weight is applied. To prevent damage, avoid walking directly on the panels whenever possible. If you need to access the roof, use a sturdy walkway or crawl boards to distribute your weight evenly and minimize the risk of causing any harm.
4. Pay attention to expansion and contraction
Aluminum expands and contracts with temperature changes. To accommodate this movement, it’s essential to install the roof panels properly. Leave enough space for expansion between panels and adjacent structures, such as walls or chimneys. Neglecting this aspect can lead to buckling, warping, or even structural damage over time.
5. Ensure proper flashing installation
Flashing is critical for preventing water infiltration in vulnerable areas like valleys, skylights, chimneys, and vents. Take extra care during flashing installation, ensuring a watertight seal. Use high-quality flashing materials designed specifically for aluminum roofs and follow manufacturer guidelines for proper installation techniques.
6. Regularly inspect and maintain your aluminum roof
Periodic inspections are essential to identify any potential issues early on and prevent them from escalating into more significant problems. Regularly check for loose fasteners, damaged flashing, or any signs of corrosion. Clean debris, such as leaves or branches, that might accumulate on the roof surface to maintain its integrity.
7. Avoid using incompatible sealants or coatings
When applying sealants or coatings to your aluminum roof, make sure they are compatible with the material. Using incompatible products can cause chemical reactions that can compromise the integrity of the roof and lead to premature deterioration. Consult with a professional or refer to manufacturer recommendations for suitable sealants and coatings.
8. Keep trees trimmed away from the roof
Overhanging tree branches can pose a risk to your aluminum roof, especially during storms or high winds. Trim back any branches that touch or hang over the roof to prevent potential damage from falling debris or scratching the surface. Regular tree maintenance can help avoid unnecessary repairs or replacements.
9. Address leaks promptly
If you notice any signs of leaks or water damage on your aluminum roof, it’s crucial to address them promptly. Even small leaks can worsen over time, leading to more extensive damage and potentially costly repairs. Identify the source of the leak and take appropriate measures to fix it before it causes further harm.
10. Hire a professional for complex aluminum roofing projects
While some DIY enthusiasts may be comfortable with basic roofing tasks, complex projects require professional expertise. If you’re tackling a large-scale installation or dealing with intricate details, it’s advisable to hire an experienced roofing contractor. They have the knowledge, tools, and skills necessary to provide a successful outcome.
Why choosing the right nail matters
Nails come in various sizes, materials, and types, each designed for specific applications. Using the wrong nail can lead to structural issues such as weak connections, loose boards, or even failure under load. Using nails that are too long or too short can result in splitting or inadequate penetration.
It’s important to consider factors like the type of material you’re working with, the thickness of the material, and the intended purpose of the nail. By selecting the appropriate nail, you can maintain a secure and durable connection, avoiding potential problems down the line.
Identifying appropriate nail length for aluminum roofing
The thickness of the aluminum panels is a crucial element in determining the nail length. It’s essential to select nails that are long enough to penetrate through the roofing material and into the underlying structure for a secure attachment.
However, using nails that are too long can cause damage to the panels or compromise the integrity of the roof. It’s recommended to consult the manufacturer’s guidelines or seek advice from a roofing professional to make sure you choose the right nail length for your specific aluminum roofing installation.
Proper nailing techniques for aluminum roof installation
- Use the correct type of nails. Opt for aluminum roofing nails specifically designed for use with aluminum roofing materials.
- Choose the appropriate nail length. Select nails that are long enough to penetrate through the roofing material and into the underlying structure, but not so long that they damage the panels or compromise the roof’s integrity.
- Space the nails properly. Follow the manufacturer’s recommendations for nail spacing, typically around 12 to 24 inches apart along the panel’s edges and 6 to 12 inches apart in the field.
- Drive the nails straight: Make sure you drive the nails straight into the aluminum panels, avoiding any angling or bending that may weaken the attachment.
- Avoid overdriving or underdriving nails. Drive the nails just enough to secure the panels firmly without crushing or denting them, ensuring a secure and flush installation.
- Use a nail gun or hammer with care. If using a nail gun or hammer, exercise caution to prevent accidental damage to the aluminum panels or nearby structures.
- Check for tightness and security: After nailing down each panel, verify that it is securely fastened and there are no loose nails. Replace any loose or improperly driven nails promptly.
- Follow proper nailing patterns: adhere to the recommended nailing patterns provided by the manufacturer, which may include specific instructions for different areas like ridges, valleys, or edges.
- Consider using neoprene washers: For added protection against water infiltration, consider using neoprene washers under the heads of the nails to create a watertight seal.
The importance of nail spacing for aluminum roofs
When the nails are spaced out correctly, the roofing panels will be securely attached to the structure below. This will protect the structure and stop problems like panels shifting, lifting, or damage from wind uplift.
The recommended nail spacing for aluminum roofs is typically around 12 to 24 inches apart along the panel’s edges and 6 to 12 inches apart in the field. Following the manufacturer’s guidelines for nail spacing helps distribute the load evenly across the panels, reducing the risk of stress concentration and potential damage.
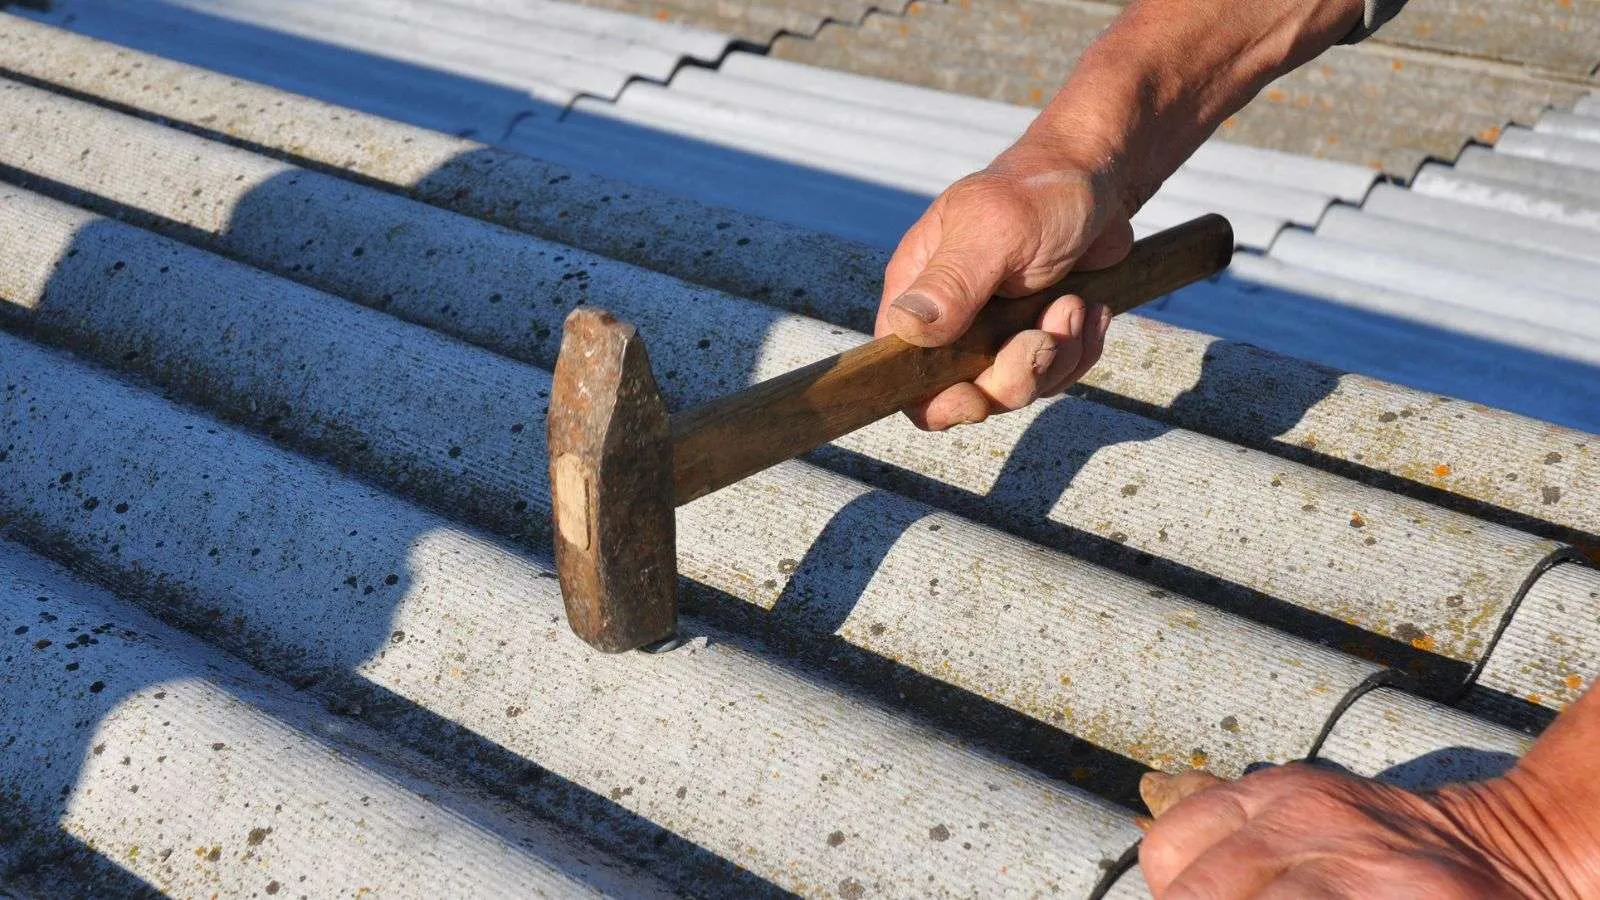
How to avoid hammer dents and damage during nailing
First of all, use a hammer with a smooth face or consider using a rubber mallet to minimize the risk of denting the aluminum panels. Place the hammer or mallet near the nail head and strike it gently and squarely. Avoid excessive force that could dent or deform the metal.
Try your best to position the nail correctly and drive it straight into the panel without angling or applying sideways pressure that may cause damage. Regularly inspect the panels for any signs of dents or damage, and if any occur, make necessary repairs promptly to maintain the integrity of the roof.
The role of sealants in aluminum roof nailing
When nails are driven through the aluminum panels, they create small holes that can potentially become entry points for water or moisture. Applying an appropriate sealant over these nail heads helps create a watertight seal, preventing water infiltration and protecting the underlying structure from potential damage. It is essential to use sealants that are compatible with both the aluminum material and the specific roofing system being installed.
Following manufacturer recommendations for sealant application, including proper curing times and temperature ranges, ensures optimal performance and long-term protection against leaks and moisture-related issues.
Ensuring proper alignment and overlapping of aluminum roofing panels
Start by establishing a straight reference line or chalk line to guide the alignment of the first row of panels. Align subsequent rows parallel to the first row, using spacers or guides if needed to maintain consistent spacing between panels. It’s recommended that you follow the manufacturer’s recommendations for panel overlap, which typically ranges from 1-2 inches. This overlap helps create a watertight barrier and prevents water from seeping between the panels.
Take care to align the panels precisely, checking both vertically and horizontally, to maintain a straight and even appearance. Proper alignment and overlapping not only enhance the aesthetics of the roof but also contribute to its functionality by ensuring effective water shedding and protection against leaks.
Effects of overdriving or underdriving nails in aluminum roofs
Overdriving or underdriving nails in aluminum roofs can have detrimental effects on the overall integrity and performance of the roofing system. When nails are overdriven, meaning they are driven too deeply into the panels, it can cause excessive pressure, leading to dimpling or puncturing of the aluminum material. This can compromise the structural integrity of the roof and create potential entry points for water infiltration.
On the other hand, underdriving nails, where they are not driven in sufficiently, can result in loose connections and inadequate holding power. This can lead to panels shifting or becoming dislodged during high winds or storms. Both overdriving and underdriving nails can compromise the weatherproofing ability of the roof, increasing the risk of leaks and subsequent damage.
It is essential to drive nails at the appropriate depth to maintain a secure and snug fit without damaging the aluminum panels, ensuring a durable and watertight roofing system.
Recognizing and preventing nail corrosion and staining
One common cause of nail corrosion is the use of incompatible materials, such as galvanized nails, which can lead to galvanic corrosion when they come into contact with the aluminum panels. To prevent this, it is essential to use nails specifically designed for aluminum roofing. Exposure to moisture can accelerate corrosion.
Applying a suitable sealant over the nail heads creates a protective barrier that helps prevent water penetration and reduces the risk of corrosion. Regular inspections should be conducted to identify any signs of corrosion or staining. If corrosion is detected, prompt action should be taken to replace the affected nails and address the underlying cause.
By using the right nails, applying sealants, and conducting regular maintenance, you can minimize the risk of nail corrosion and staining, preserving the overall quality and appearance of your aluminum roof.
Detecting and remedying nail pops in aluminum roofs
Nail pops occur when nails become dislodged or rise above the surface of the roof panels. They can be visually identified as small bulges or raised areas on the roof. Regular inspections should be conducted to detect any nail pops, paying attention to areas with visible signs of movement or gaps between the panels. When a nail pop is detected, it should be remedied promptly to prevent further damage.
This typically involves removing the nail, realigning the panel, and then properly re-nailing it to secure it in place. Use nails that are appropriate for aluminum roofing and drive them to the correct depth to prevent future nail pops. Regular maintenance and inspections, along with timely repairs, can help prevent nail pops and ensure the long-term performance of an aluminum roof.

Author: Logan
I help people connect with businesses
