Dive into the intricate skill of implementing sledgehammers in your roofing work with our thorough guide. From the selection of an appropriate sledgehammer to the mastery of precise striking techniques, we aim to lay out everything you need to improve roofing efficiency.
In this article, we craft a step-by-step framework comprising “10 Essential Steps to Using a Sledgehammer in Roofing,” guiding you towards effective and safe usage of sledgehammers in roofing.
Table of contents
How to use sledge hammers in roofing
Sledgehammers can be an effective tool in roofing when used properly and safely. They are typically used for demolition work, such as removing old shingles, tiles, or metal roofing. To use a sledgehammer for roofing, you should first make sure you’re wearing appropriate safety gear, including gloves and safety glasses. Then, stand on a sturdy surface, hold the handle with both hands, and swing the hammer at the area you want to demolish.
Make sure you aim accurately to avoid damaging areas that should remain intact. It’s recommended to start from the top and work your way down to prevent roofing materials from falling on you. Remember, sledgehammer use requires strength and control, so take regular breaks to avoid fatigue. Be aware of your surroundings to ensure the safety of others on the site.
10 Essential steps to using a sledgehammer in roofing
1. Safety first
Before you begin with any demolition or construction work, the first and foremost step is ensuring safety. This includes wearing safety gear such as a hard hat, safety glasses, gloves, and steel-toe boots. You should also make sure the area around you is clear of any unnecessary debris or tools that could potentially cause an accident.
2. Inspect the sledgehammer
Inspect the sledgehammer for any cracks or damage before using it. A damaged handle or head could lead to accidents. Also, make sure that the head is securely attached to the handle, as a loose head can cause serious injuries.
3. Firm footing
Make sure you have a firm footing before you swing the sledgehammer. This might mean setting up a stable ladder or scaffolding that can support your weight and provide a secure base. Always remember to maintain three points of contact (two feet and one hand or two hands and one foot) when working at height.
4. Correct grip
Hold the sledgehammer with both hands, one near the top of the handle and the other towards the end. This gives you greater control and power over your swing.
5. Practice the swing
Before you start hammering away, practice your swing a few times. This helps you get a feel for the weight and balance of the sledgehammer and allows you to aim accurately.
6. Start from the top
When removing roofing material, start from the top and work your way down. This allows gravity to assist in the removal process and helps prevent material from falling on you.
7. Controlled demolition
Use controlled swings to hit the target accurately and avoid damaging parts of the roof that are still good. It’s not about swinging as hard as you can, but rather about hitting the right spot with enough force.
8. Regular breaks
Swinging a sledgehammer is physically demanding work. Take regular breaks to avoid fatigue, which can lead to accidents or sloppy work. Stay hydrated and take a moment to rest when needed.
9. Clean as you go
Regularly clean up the demolished materials. Not only does this keep the work area safe, but it also allows you to see your progress and adjust your strategy if needed.
10. Dispose of waste responsibly
Once you’re done with the demolition, make sure to dispose of the waste material responsibly. This often means recycling where possible and hiring a skip for any non-recyclable waste.
What is a sledgehammer and why is it used in roofing?
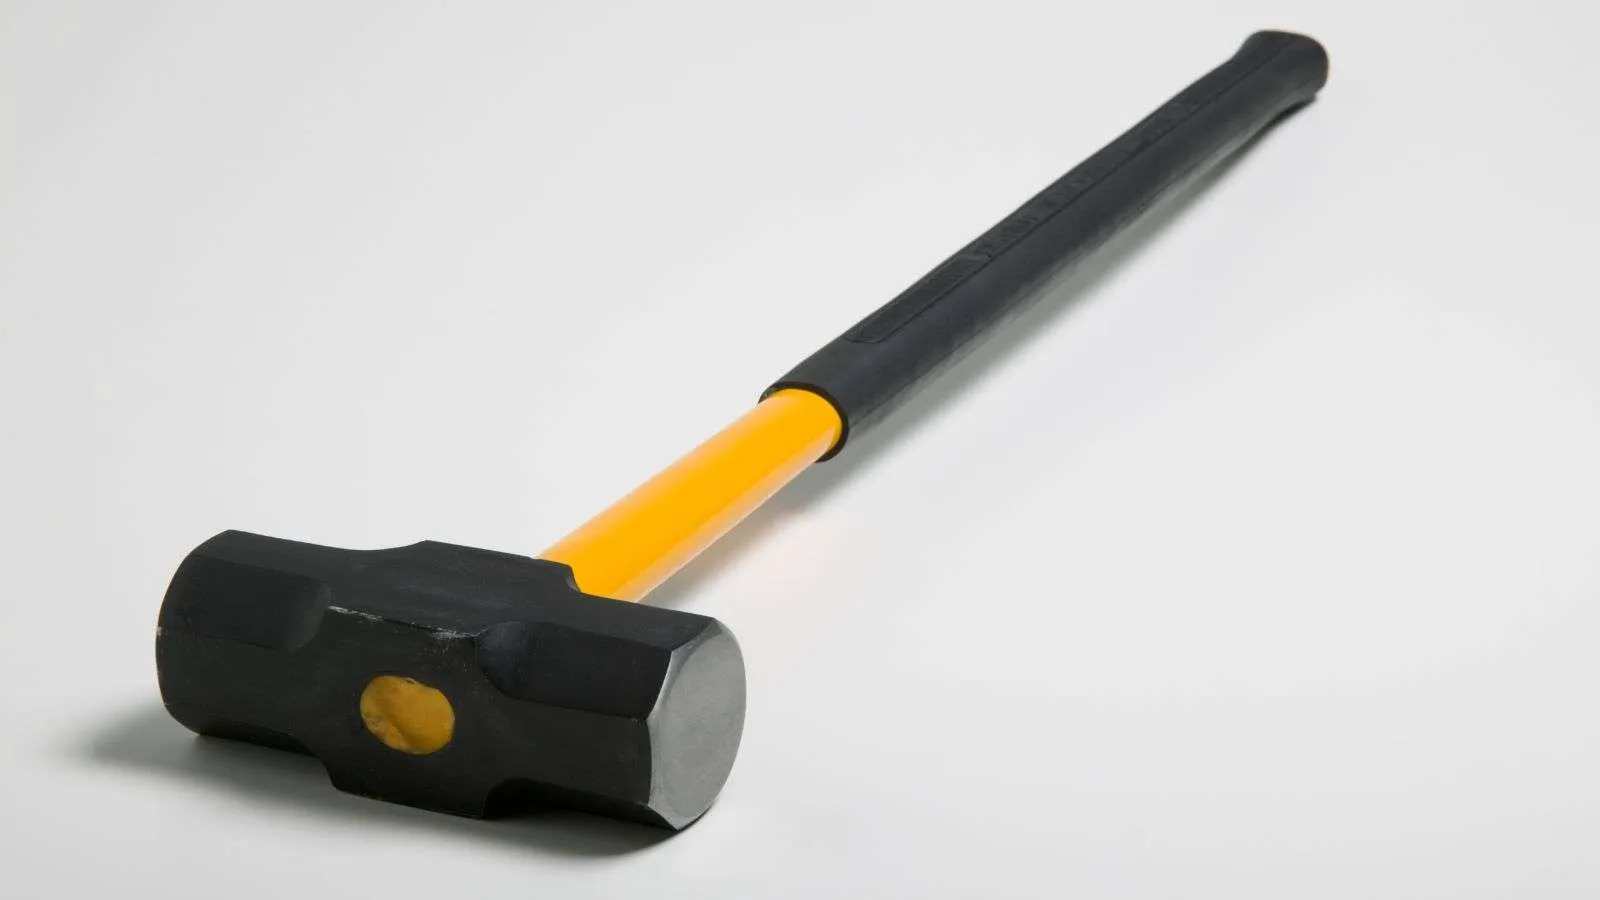
A sledgehammer is a large, heavy tool with a long handle and a double-headed striking surface, typically made of metal. In roofing, it’s used primarily for demolition purposes, such as removing old shingles, tiles, or metal roofing materials.
The weight and design of the sledgehammer allow the user to apply a great deal of force with each swing, making it an effective tool for breaking apart and removing sturdy materials. It can be used to straighten warped boards or to secure roofing materials more firmly by delivering powerful blows. Thus, a sledgehammer serves as a valuable tool in both the demolition and construction phases of roofing.
Different types of sledgehammers for roofing
- Double-faced sledgehammer: This type has two identical flat faces. It’s versatile and is often used for driving stakes or breaking up material.
- Single-faced sledgehammer: This type has one flat face and one wedge-shaped face. The wedge side is useful for splitting material.
- Engineer’s sledgehammer (or club hammer): This is a smaller, lighter version of the double-faced sledgehammer. It’s used for light demolition work or driving steel chisels and stakes.
- Drilling sledgehammer: This type has two long, cylindrical heads and is often used in conjunction with a star drill to create holes in concrete or stone.
- Soft-faced sledgehammer: This type has a softer face made from materials like rubber or plastic. It’s used when the force of a sledgehammer is needed, but without damaging the surface being struck, such as for roofing tiles.
- Dead-blow sledgehammer: This type has a hollow head filled with sand or lead shot to minimize rebound after impact. It’s useful in precision demolition work.
Understanding the safety measures before working with a sledgehammer
Before starting, make sure you’re equipped with appropriate safety gear, including a hard hat, safety glasses, gloves, and steel-toe boots. Inspect the sledgehammer for any signs of damage or a loose head, both of which could lead to potential accidents. Maintain a secure footing on a stable surface, such as a secure ladder or scaffolding, and always have three points of contact while working at heights.
While swinging the hammer, use a correct grip and controlled swings to hit the target accurately and prevent any mishaps. Regular breaks are essential to avoid fatigue and reduce the risk of accidents. Finally, keep your working area clean and free from unnecessary debris or tools that could cause tripping or other accidents, and ensure that demolished materials are disposed of responsibly to maintain a safe work environment.
Striking techniques to apply when using a sledgehammer in roofing
- Use a proper stance. Stand with your feet shoulder-width apart for balance. Your dominant foot should be slightly behind.
- Correct grip: Hold the sledgehammer with both hands. Your non-dominant hand should be near the top of the handle, and your dominant hand should be towards the bottom.
- Full swing: Swing the sledgehammer in a full arc, letting the weight of the hammer do most of the work. Begin the swing from over your shoulder and follow through until it hits the target.
- Controlled force: Don’t simply rely on brute strength. Control your swing to guarantee accuracy and to prevent damage to the areas of the roof that are still good.
- Alternate hands: To avoid fatigue, you can alternate your hands. This means switching the position of your hands on the handle after a certain number of strikes.
- Practice swings: Before you start hammering, take a few practice swings to get a feel for the weight and balance of the hammer.
- Rest and recover: Take regular breaks to avoid muscle fatigue. Overworking can lead to a loss of control and potential accidents.
The role of a sledgehammer in removing old roofing materials
A sledgehammer plays a crucial role in removing old roofing materials due to its significant weight and force capacity. Primarily used in the demolition phase, it aids in breaking apart and dislodging old, sturdy materials such as shingles, tiles, or metal roofing.
The user can apply a great deal of force with each swing, making it an effective tool for breaking up and removing these materials. Starting from the top and working down, the sledgehammer can be used to systematically remove sections of old roofing. This process helps clear the way for the installation of new roofing materials, making the sledgehammer an invaluable tool in the roofing process.
How to choose the right sledgehammer for your roofing needs
- Understand the task: Different jobs require different types of sledgehammers. If you’re removing tiles, a soft-faced sledgehammer is ideal to prevent damage. For heavy-duty demolition, a double-faced sledgehammer would be more suitable.
- Consider the weight: Sledgehammers come in various weights. Heavier ones deliver more force but are more difficult to handle. Choose a weight that you can comfortably swing for an extended period.
- Check the handle length. Longer handles offer more swing power but require more space and control. Short handles provide less power but more control and are suitable for working in tight spaces.
- Material of the handle: wooden handles absorb shock well and provide a comfortable grip but can break under heavy strain. Fiberglass handles are durable and absorb shock even better than wood. Steel handles are the most durable but also the least comfortable.
- Inspect the hammer: Before purchase, inspect the hammer for any signs of damage or defects, such as cracks in the handle or a loose hammerhead.
- Comfort and grip: Hold the sledgehammer to see if it feels comfortable and if you can maintain a good grip. Your hands should wrap around the handle securely without slipping.
- Brand reputation: Consider purchasing from a reputable brand known for its quality and durability. This will make certain that your tool can withstand the demands of roofing work.
Best practices for using a sledgehammer in roofing
- Wear safety gear: Always wear appropriate safety equipment, including a hard hat, safety glasses, gloves, and steel-toe boots.
- Inspect the tool: Before starting work, inspect the sledgehammer for any damage or loose parts to prevent accidents.
- Secure footing: Make sure you have a firm and stable footing when swinging the sledgehammer, especially when working at heights.
- Proper grip: Hold the tool correctly—one hand near the top of the handle and the other towards the end—for better control and power.
- Controlled swings: Use controlled, intentional swings to hit your target accurately. It’s not about force, but precision and control.
- Work top-down: When removing roofing materials, start from the top and work your way down to prevent materials from falling onto you.
- Take breaks. Using a sledgehammer is physically demanding. Take regular breaks to avoid fatigue and maintain accuracy.
- Clean workspace: Keep your workspace clean and free of debris to prevent accidents and to clearly see your progress.
- Responsible disposal: dispose of demolished materials responsibly, considering recycling where possible.
Common mistakes to avoid when using a sledgehammer in roofing
- Ignoring safety measures: Not wearing appropriate safety gear or failing to secure a stable footing are common mistakes that can lead to serious accidents.
- Using a damaged sledgehammer: Using a sledgehammer with a cracked handle or loose head can result in injuries and inefficient work. Always inspect the tool before use.
- Incorrect grip: Holding the sledgehammer incorrectly can lead to inaccurate strikes and increased fatigue. The correct grip involves holding the sledgehammer with both hands, one near the top of the handle and the other towards the end.
- Overexertion: Swinging the sledgehammer with too much force or for too long without breaks can lead to excessive fatigue and loss of control, resulting in potential accidents.
- Ignoring the demolition order: Removing roofing materials from the bottom upwards instead of from the top down can cause loose materials to fall onto you.
- Neglecting cleanliness: Not cleaning up as you go or disposing of waste materials improperly can lead to a cluttered workspace, increasing the risk of accidents.
- Not practicing swings: Failing to take practice swings can result in poor control and precision when it’s time to actually start demolition. Practice helps you get a feel for the sledgehammer’s weight and balance.

Author: Logan
I help people connect with businesses
