The installation of a vapor barrier is a critical step in protecting your roof and structure from moisture damage. Correctly installing a vapor barrier can increase the longevity of your roof, prevent mold growth, and improve energy efficiency.
In this article, we explore the crucial steps and considerations for the effectiveness of vapor barrier installation on roofs.
Understanding the Importance of Vapor Barriers
The importance of vapor barriers lies in their ability to prevent moisture from passing through walls, ceilings, and floors, helping to control humidity levels and reduce the risk of mold growth and structural damage within buildings. Vapor barriers keep insulation materials in good shape by stopping the movement of water vapor.
This makes sure that the materials can control indoor temperatures and save energy. For instance, in cold climates, a properly installed vapor barrier on the warm side of insulation can prevent condensation from forming within walls during the winter months. On the other hand, in hot and humid regions, a vapor barrier on the exterior side of insulation can prevent moisture infiltration and subsequent mold issues.
7 Essential Steps for Effective Vapor Barrier Installation
1. Properly Assess the Environmental Conditions
Before installing a vapor barrier, it’s best to assess the specific environmental conditions of the building site. Factors such as climate, humidity levels, and building design can all impact the effectiveness of the vapor barrier. Conducting a thorough evaluation will help determine the optimal placement and type of vapor barrier required for the specific project, ensuring long-term performance and durability.
2. Select the Appropriate Vapor Barrier Material
Choosing the right vapor barrier material is essential for effective installation. Consider factors such as permeability, durability, and compatibility with other building materials. For example, in areas with high humidity levels, a vapor barrier with low permeability is recommended to prevent moisture infiltration. Make sure the selected material meets building code requirements and manufacturer recommendations for optimal performance.
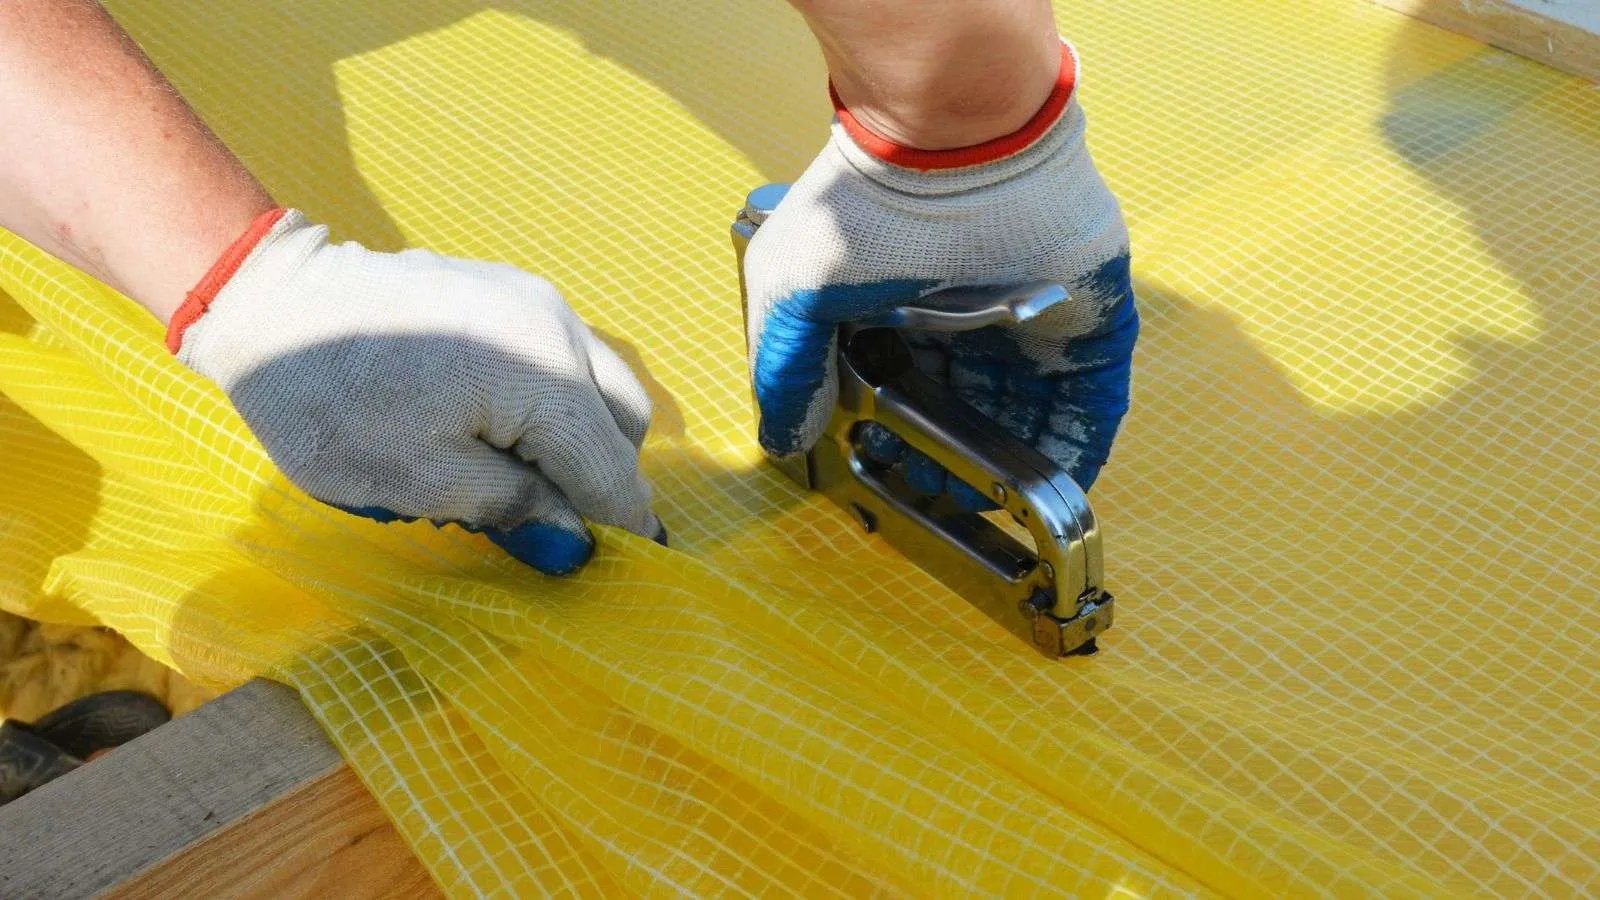
3. Just make sure you use proper installation techniques.
Proper installation techniques are critical for the success of a vapor barrier. Just make sure that seams are tightly sealed using approved tapes or adhesives to prevent air leakage and moisture penetration. Pay attention to details such as overlaps and penetrations to create a continuous barrier that effectively blocks water vapor transmission. Following manufacturer guidelines and industry best practices will help achieve a successful installation.
4. Address Potential Moisture Sources
Identifying and addressing potential moisture sources before installing a vapor barrier is essential to preventing future issues. Inspect areas prone to leaks, condensation, or water infiltration, and take the necessary steps to mitigate these sources of moisture. Addressing underlying issues, such as plumbing leaks or roof damage, can help prevent moisture buildup behind the vapor barrier and ensure its long-term effectiveness.
5. Consider Vapor Barrier Placement
The placement of the vapor barrier within the building assembly is essential for its performance. In cold climates, the vapor barrier is typically installed on the warm side of insulation to prevent condensation within walls. Conversely, in hot and humid environments, placing the vapor barrier on the exterior side of insulation can prevent moisture infiltration and mold growth. Consider the specific climate and building design to determine the optimal placement for maximum effectiveness.
6. Conduct Regular Inspections and Maintenance
Regular inspections and maintenance of the vapor barrier are essential to ensuring continued performance over time. Monitor for signs of damage, wear, or improper sealing that could compromise the barrier’s effectiveness. Address any issues immediately to prevent moisture intrusion and maintain the integrity of the building envelope. Implementing a routine inspection schedule can help prolong the lifespan of the vapor barrier and avoid costly repairs.
7. Seek Professional Guidance if Needed
If you are unsure about any aspect of vapor barrier installation or encounter challenges during the process, do not hesitate to seek professional guidance. Consulting with experienced contractors or building professionals can provide valuable insights and recommendations tailored to your specific project requirements. Professional assistance can help make sure the vapor barrier is installed correctly and functions effectively to protect your building from moisture-related issues in the long run.
Choosing the Right Vapor Barrier Material
- Consider the Permeability Rating: The permeability rating of a vapor barrier material determines its ability to resist the passage of water vapor. Lower-permeability materials are more effective in preventing moisture infiltration, especially in areas with high humidity levels. For example, a vapor barrier with a perm rating of less than 0.1 is suitable for cold climates where condensation control is crucial.
- Evaluate Material Durability: When selecting a vapor barrier material, consider its durability and resistance to wear and tear over time. Opt for materials that can withstand installation processes, environmental factors, and potential physical damage. For instance, reinforced polyethylene vapor barriers are known for their durability and strength, making them ideal for long-term protection against moisture intrusion.
- Check Compatibility with Insulation: make sure the chosen vapor barrier material is compatible with the insulation used in the building assembly. Certain materials may react with insulation components or hinder their performance if they are not properly matched. For example, when installing spray foam insulation, choose a vapor barrier that is compatible with the specific type of foam to avoid compatibility issues that could compromise the building envelope’s integrity.
- Assess Environmental Impact: Consider the environmental impact of the vapor barrier material, including factors such as recyclability, emissions, and sustainability. Opt for materials that have minimal environmental impact and contribute to energy efficiency in the building. For instance, recycled vapor barrier materials can help reduce waste and promote eco-friendly construction practices.
- Review Manufacturer Recommendations: Before making a final decision, review manufacturer recommendations for the specific vapor barrier material. Manufacturers often provide guidelines on installation techniques, compatibility with other building materials, and performance expectations. Following these recommendations can help with the optimal performance and longevity of the vapor barrier in protecting the building from moisture-related issues.
- Evaluate cost-effectiveness: While considering vapor barrier materials, evaluate their cost-effectiveness in relation to the overall project budget. Balance the initial cost of the material with its long-term benefits and performance to make an informed decision. For example, investing in a high-quality vapor barrier material may result in long-term savings through improved energy efficiency and reduced maintenance costs.
- Consult Building Code Requirements: Make sure the selected vapor barrier material meets building code requirements and regulations for your specific project location. Building codes often dictate the type, placement, and installation methods of vapor barriers to guarantee compliance with industry standards and building safety. Adhering to building code requirements can help guarantee that the vapor barrier installation meets legal standards and performs effectively in controlling moisture transmission within the building envelope.
Pre-installation Preparation and Roof Inspection
Before installing a vapor barrier, thorough pre-installation preparation and roof inspection are essential steps to maintain a successful outcome. Pre-installation preparation involves assessing the building site, identifying potential moisture sources, and selecting the appropriate vapor barrier material based on environmental conditions and building design.
Conducting a roof inspection is the key to detecting any existing leaks, damages, or areas vulnerable to water infiltration that could compromise the effectiveness of the vapor barrier. Addressing these issues proactively, such as repairing roof leaks or improving ventilation, can help create a solid foundation for the vapor barrier installation, enhance its performance and longevity and protect the building from moisture-related problems.
The Role of Roof Ventilation in Conjunction with Vapor Barriers
Roof ventilation plays a major role in conjunction with vapor barriers by helping to manage moisture levels within the building envelope. Proper roof ventilation allows for air circulation, reducing humidity buildup in attics and preventing condensation that can lead to mold growth and structural damage. When used in conjunction with vapor barriers, roof ventilation helps to maintain a balanced environment by expelling excess moisture and preventing it from becoming trapped within the insulation or building materials.
For example, ridge vents, soffit vents, or gable vents can facilitate air movement in the attic space, working in tandem with vapor barriers to create a comprehensive moisture control system that promotes a healthy indoor environment and prolongs the lifespan of the building components.
Professional vs. DIY Installation: What You Need to Know
| Aspect | Professional Installation | DIY Installation |
|---|---|---|
| Expertise | Professionals have specialized knowledge and experience in vapor barrier installation techniques and building codes. | DIYers may lack the expertise and skills required for proper installation, increasing the risk of errors and inefficiencies. |
| Tools and Equipment | Professionals have access to specialized tools and equipment for precise installation. | DIYers may need to purchase or rent tools, potentially adding to the overall cost of the project. |
| Time and Efficiency | Professional installers can complete the job efficiently and within a specified timeframe. | DIY installation may take longer, especially for those with limited experience, potentially delaying project completion. |
| Warranty and Support | Professional installations often come with warranties and support from the installation company. | DIY installations may lack warranty coverage and professional support, leaving homeowners responsible for any issues. |
When considering professional versus DIY installation of vapor barriers, several key aspects need to be taken into account. Professional installation offers the advantage of expertise, as professionals possess specialized knowledge and experience in ensuring proper vapor barrier installation according to building codes.
They also have access to specialized tools and equipment, which can result in a more precise installation compared to DIY efforts that may require additional tool purchases or rentals. Professional installers can work efficiently to complete the job within a specified timeframe, providing peace of mind for homeowners.
On the other hand, opting for a DIY installation may save costs but could result in errors due to a lack of expertise, potentially leading to inefficiencies and project delays. Professional installations often include warranties and support from the installation company, offering added protection and assistance in case of any issues post-installation, which DIY installations may lack.
Dealing with Common Vapor Barrier Myths and Misconceptions
- Myth: Vapor barriers are always necessary in all climates. Contrary to popular belief, vapor barriers are not always required in every climate. The necessity of a vapor barrier depends on factors such as climate, building design, and insulation type. In some cases, improper placement or installation of a vapor barrier can lead to moisture-related issues rather than prevent them. For example, in hot and humid climates, a vapor barrier placed on the wrong side of the insulation can trap moisture and promote mold growth.
- Myth: Vapor barriers can fix existing moisture problems. Another common misconception is that vapor barriers can resolve existing moisture issues within a building. While vapor barriers are essential for preventing future moisture infiltration, they are not a solution for addressing leaks, water damage, or mold growth that already exist. You have to identify and address underlying moisture sources before installing a vapor barrier to ensure long-term effectiveness.
- Myth: More vapor barriers mean better protection. Some believe that adding multiple layers of vapor barriers provides enhanced protection against moisture infiltration. However, excessive vapor barriers can create a double vapor barrier effect, trapping moisture between layers and causing potential damage to building materials. One properly installed vapor barrier is sufficient to control moisture transmission within the building envelope.
- Myth: Vapor barriers can cause buildings to become airtight. There is a misconception that installing a vapor barrier will make a building airtight, leading to indoor air quality issues. In reality, vapor barriers are designed to control moisture while allowing for proper air circulation within the building. When combined with adequate ventilation systems, vapor barriers contribute to maintaining a healthy indoor environment without compromising air quality.
- Myth: Vapor barriers are fire hazards. Some people believe that vapor barriers pose a fire hazard due to their material composition. However, modern vapor barrier materials are designed to meet fire safety standards and are not inherently flammable. It is essential to choose vapor barrier materials that comply with fire safety regulations for the protection of the building and its occupants in case of a fire.
The Impact of Climate on Vapor Barrier Selection and Installation
The impact of climate on vapor barrier selection and installation is significant, as different climates require tailored approaches to moisture control within building assemblies. In cold climates, where the primary concern is condensation forming within walls during colder months, vapor barriers are typically installed on the warm side of insulation to prevent moisture infiltration.
On the other hand, in hot and humid climates, vapor barriers are placed on the exterior side of insulation to prevent condensation from forming inside walls due to temperature differentials. Understanding the specific climate conditions, humidity levels, and seasonal variations is essential for choosing the right vapor barrier material with appropriate permeability ratings to effectively manage moisture and provide long-term building durability.
Proper installation techniques, such as sealing seams and penetrations, are crucial in all climates to create a continuous barrier that controls water vapor transmission and minimizes the risk of mold growth and structural damage.
Ensuring Proper Sealing and Coverage
Ensuring proper sealing and coverage of the vapor barrier is the key to its effectiveness in preventing moisture infiltration within building structures. Proper sealing involves meticulously securing all seams, overlaps, and penetrations with approved tapes or adhesives to create a continuous barrier that blocks water vapor transmission.
Any gaps or openings in the vapor barrier can compromise its performance and lead to moisture issues over time. Ensuring adequate coverage of the entire building envelope, including walls, ceilings, and floors, is essential to creating a complete moisture control system. For example, in areas prone to high humidity levels, paying extra attention to sealing around windows, doors, and electrical penetrations can help prevent moisture intrusion and maintain the integrity of the vapor barrier.
Regular inspections and maintenance of the vapor barrier are also necessary to identify and address any areas of inadequate sealing or coverage to uphold its functionality in protecting the building from moisture-related problems.
Maintenance and Inspection Tips for Your Roof’s Vapor Barrier
- Regular Inspections: Conduct regular visual inspections of the roof’s vapor barrier to check for any signs of damage, wear, or deterioration. Look for tears, punctures, or gaps in the barrier that may compromise its effectiveness in preventing moisture infiltration. Inspecting the vapor barrier during routine roof maintenance can help identify issues early and prevent potential water damage.
- Dealing with Leaks Promptly: If you notice any leaks or water stains on the roof or ceiling, investigate the source right away to determine if there are any breaches in the vapor barrier. Dealing with leaks quickly can prevent water from seeping through the barrier and causing further damage to the building structure. Repair any damaged areas of the vapor barrier to maintain its integrity and functionality.
- Clearing Debris: Keep the roof surface clean and free of debris that can accumulate and potentially damage the vapor barrier. Remove fallen leaves, branches, dirt, and other debris from the roof regularly to prevent clogs and blockages that may compromise the performance of the vapor barrier. Maintaining a clear roof surface allows for proper water drainage and reduces the risk of moisture buildup.
- Inspecting Roof Penetrations: Pay special attention to roof penetrations such as vents, chimneys, skylights, and HVAC units, as these areas are common points of vulnerability for moisture intrusion. Just make sure that penetrations are properly sealed around the vapor barrier to prevent water from seeping through gaps or cracks. Regularly inspecting and maintaining seals around roof penetrations can help preserve the integrity of the vapor barrier.
- Monitoring Interior Moisture Levels: Monitor interior humidity levels and signs of moisture buildup within the building, as these can indicate potential issues with the roof’s vapor barrier. High humidity levels, condensation on windows, or musty odors indoors may suggest that moisture is penetrating the barrier and affecting the building envelope. Dealing with these signs quickly can help prevent further damage and make sure the vapor barrier is functioning effectively.
The Future of Roofing: Innovations in Vapor Barrier Technology
Continuous advancements in vapor barrier technology, which aim to improve moisture control and energy efficiency in building structures, are shaping the future of roofing. Advanced vapor barrier materials are being developed with improved permeability ratings to better manage moisture in various climate conditions while allowing for optimal air circulation within the building envelope.
Innovations such as smart vapor barriers equipped with sensors to monitor moisture levels and detect leaks in real-time are revolutionizing how building owners can proactively address potential issues. Eco-friendly vapor barrier materials made from sustainable resources or recycled content are gaining popularity as the construction industry prioritizes environmental sustainability.
As technology continues to evolve, the integration of vapor barriers with smart building systems and energy-efficient designs is paving the way for a more resilient and sustainable future in roofing practices.
Understanding Warranties and Guarantees for Vapor Barrier Products
When it comes to vapor barrier products, understanding warranties and guarantees is essential for ensuring quality and long-term performance. Manufacturers often provide warranties that outline the specific coverage, duration, and conditions under which the vapor barrier product is guaranteed to perform. You have to review and understand the warranty terms, including any exclusions or limitations, to know what is covered and what responsibilities fall on the buyer or installer.
Guarantees may vary depending on the manufacturer and product type, with some offering additional support or replacement options in case of product defects or failures. For example, a vapor barrier product may come with a 10-year warranty against manufacturing defects, providing peace of mind to the buyer regarding the product’s quality and durability.