When it comes to roof tiles, strong adhesion is key to ensuring durability and longevity. A well-adhered tile not only improves the roof’s performance but also enhances its overall aesthetic appearance.
In this article, we’ll guide you through eight effective methods to increase tile adhesion to your roof.
Why is strong tile adhesion important for roofs?
Strong tile adhesion is needed for roofs, as it guarantees the long-lasting protection and structural integrity of a building. Proper adhesion prevents water penetration, leaks, and damage from harsh weather conditions, such as heavy rain, strong winds, and extreme temperatures. In addition, securely bonded tiles safeguard the roof from potential hazards like debris or fallen tree branches.
Moreover, maintaining strong adhesion helps maintain a visually appealing aesthetic and minimizes the need for frequent repairs or replacements, ultimately saving time and resources. For example, using high-quality adhesive materials like modified thin-set mortar can provide strong bonding between roof tiles, improving resistance to both shifting and cracking. In conclusion, strong tile adhesion plays a critical role in preserving a roof’s functionality, durability, and appearance over time.
8 Effective Methods to Increase Tile Adhesion to Your Roof
1. Choose the right adhesive
Selecting an adhesive that’s specifically formulated for your tile type and climate conditions can make a significant difference in the longevity of your roof. For instance, if you live in an area with extreme weather changes, look for adhesives labeled “flexible” to accommodate the expansion and contraction of tiles.
2. Ensure a clean surface
Before applying tiles, thoroughly clean the roof surface to remove dust, dirt, and debris. An often overlooked step is to wipe down the surface with a solvent that prepares it for better adhesion. This can prevent future problems with tile detachment.
3. Apply a primer
Using a primer creates a more adhesive-friendly environment on your roof. A rarely mentioned tip is to tint your primer slightly with the same color as your tiles; this not only aids in adhesion but also helps in masking any potential minor exposure due to tile shifts.
4. Use the correct notched trowel
The size and shape of the notches on the trowel can impact the adhesion of tiles. A less common practice is to use a trowel with triangle-shaped notches, which some experts believe provides better coverage than square notches, especially on uneven surfaces.
5. Back-butter larger tiles
For larger tiles, apply adhesive to both the roof surface and the back of the tile—a technique known as back-buttering. This method is not widely used but can dramatically increase the contact area between the tile and the roof, leading to a stronger bond.
6. Install during moderate temperatures
Temperature can have an impact on adhesive properties. An infrequently shared tip is to install tiles when the temperature is between 50°F and 70°F (10°C and 21°C), as this range is generally ideal for adhesive setting and curing.
7. Use tile spacers for even weight distribution
Tile spacers are not just for maintaining even gaps; they also play a major role in distributing weight evenly across the roof. This prevents individual tiles from bearing too much load, which could compromise adhesion.
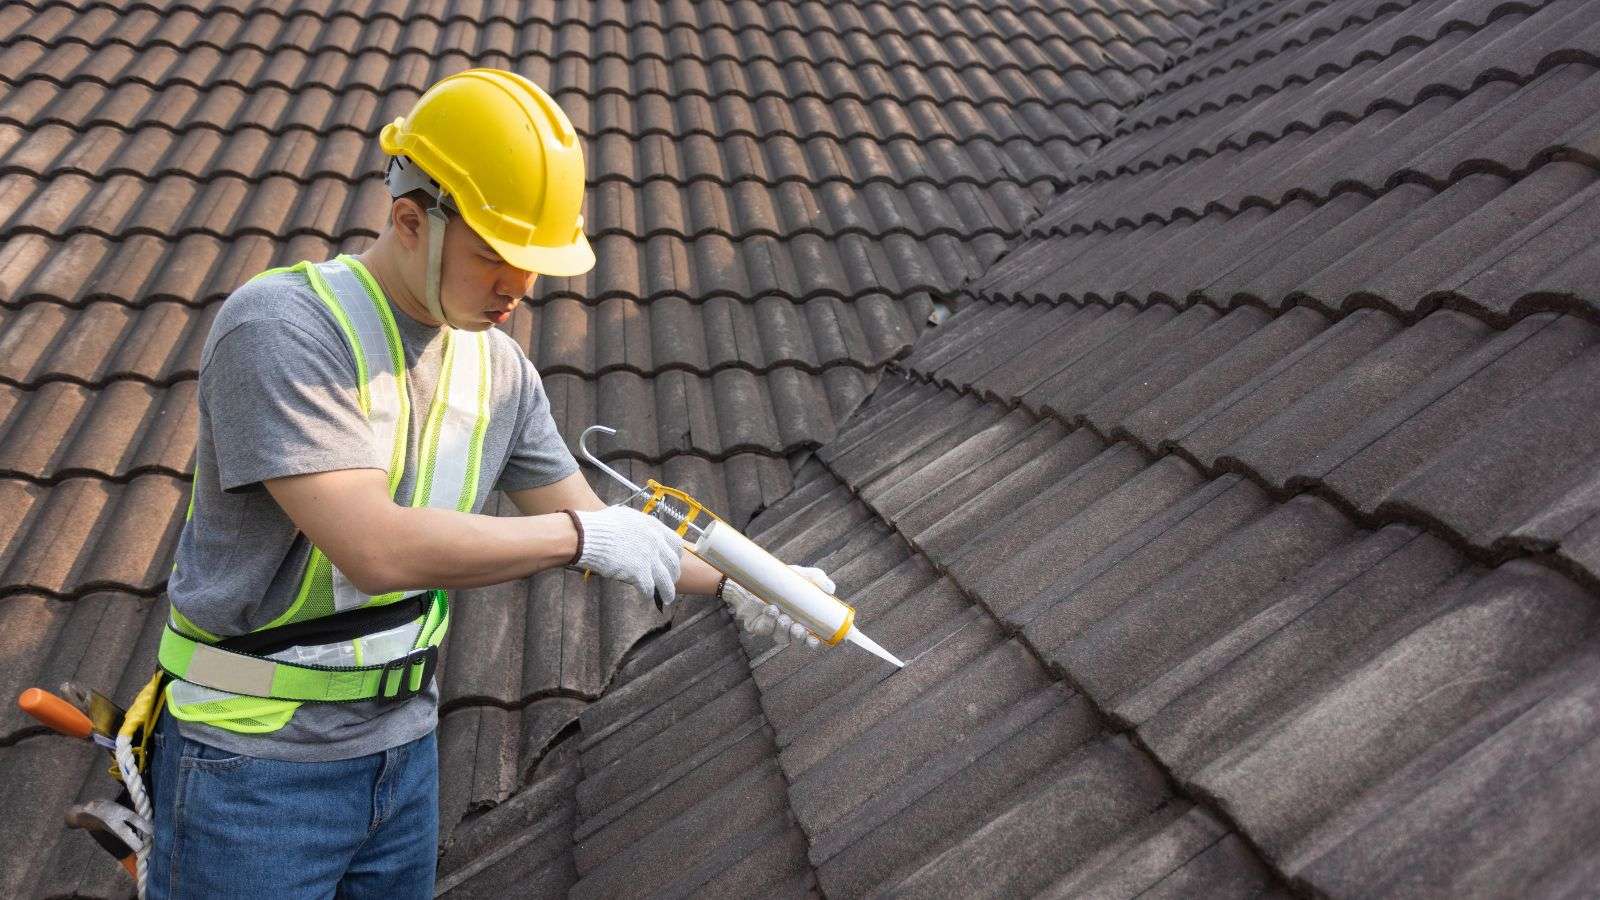
8. Seal the tiles correctly
After laying down the tiles, sealing them properly is crucial for preventing water infiltration, which can weaken adhesive bonds over time. One seldom-discussed piece of advice is to periodically check and reapply sealant in areas prone to high wear or water exposure, like around chimneys or skylights.
Choosing the Right Tile Adhesive
Choosing the right tile adhesive is pivotal to ensuring a secure and durable roof. Opt for a high-quality polymer-modified thinset mortar, which is designed to offer superior bonding and resist the rigors of outdoor exposure. For example, if your roof tiles are porcelain, a white thinset is recommended, as it contains non-staining properties that prevent discoloration.
Consider the weight of your tiles; heavier tiles may require a mortar with a higher latex content for increased flexibility and grip. Also, take into account the specific conditions your roof will face, such as high winds or heavy rain. In coastal areas or places with frequent freeze-thaw cycles, choose an adhesive that’s been tested for such extremes.
Brands like Mapei and Custom Building Products offer an array of adhesives that cater to different types of tiles and weather conditions, so selecting a product from their lines that matches the needs of your environment will help in achieving a roof that stands the test of time.
Preparation and Cleaning of the Roof Surface
Proper preparation and cleaning of the roof surface are vital to maximize tile adhesion. Start by removing all old roofing materials and repairing any underlying damage to ensure a flat and stable base. Use a high-pressure washer to remove stubborn grime, moss, or algae that can create a barrier between the tile and the substrate.
After washing, treat the surface with an anti-fungicide solution to inhibit future biological growth. For the final cleaning step, use a specialized cleaning agent, such as an environmentally safe acid wash or a TSP (trisodium phosphate) solution, to etch and degrease the surface, which can vastly improve the grip of the adhesive. Allow the roof to dry completely before moving on to the next step, as moisture can negatively affect the adhesive’s performance. This attention to detail during the cleaning stage will establish a pristine foundation for your tiles to adhere to, reducing the risk of future repairs or tile replacement.
Importance of Using Bonding Agents
Bonding agents play a critical role in tile installation, acting as an intermediary layer that enhances the bond between the roof substrate and the tile adhesive. These agents are especially crucial when working with non-porous or difficult-to-bond surfaces, such as glazed tiles or certain types of concrete.
An example of a bonding agent is an acrylic-based liquid that, when applied, penetrates the substrate and creates a more receptive surface for the adhesive. This is particularly vital in preventing tile slippage on steep roofs or in high-traffic areas where a strong bond is essential for safety and longevity.
Moreover, bonding agents can improve the adhesive’s flexibility, allowing it to withstand natural movement and thermal expansion without cracking or degrading. By incorporating a bonding agent into your tile installation process, you’ll get a robust and durable adhesion that can resist environmental stresses, ultimately extending the life of your roof.
Optimal Weather Conditions for Adhesion
Weather conditions at the time of installation have a significant impact on the success of tile adhesion. The optimal weather for tile installation is a clear, dry day with mild temperatures, ideally ranging from 50°F to 70°F (10°C to 21°C). These conditions allow the adhesive to cure at a rate that guarantees strong bonding without premature drying or prolonged moisture exposure.
Adhesives can become too viscous in cold temperatures, leading to poor spreading and bonding, while high heat can cause adhesives to set too quickly, reducing the open time to adjust tiles and potentially compromising the bond. Avoid rainy or very humid conditions, as moisture can interfere with the adhesive’s ability to set correctly and have long-term detrimental effects on its holding power.
It’s also wise to check the weather forecast for the days following the installation to make sure the adhesive has adequate time to cure without being subjected to adverse weather that could weaken the bond before it’s fully set.
Tile Back-Buttering to Enhance Adhesion
Back-buttering, the process of applying adhesive directly to the back of tiles in addition to the roof substrate, is a technique that greatly enhances tile adhesion, particularly for large-format or irregularly shaped tiles. This method involves spreading an even layer of adhesive across the back of the tile with a notched trowel, ensuring that air pockets are eliminated and full contact is made between the tile and the adhesive. By doing so, you increase the surface bonding area and improve the grip, which is especially critical in areas subjected to high winds or heavy foot traffic.
Back-buttering helps compensate for minor variations in tile thickness or roof surface irregularities, leading to a more level finish and a stronger, more uniform bond. While this technique may require more time and material, it can significantly reduce the risk of tile detachment and extend the lifespan of your roof installation.
Assessing and Ensuring Even Mortar Coverage
Ensuring even mortar coverage is essential for robust tile adhesion and longevity. To assess and guarantee uniform coverage, spread the mortar using a notched trowel at a consistent angle and pressure across the entire surface, checking periodically that the mortar’s depth is uniform.
One effective method to verify even coverage is the “back-buttering” technique, where mortar is applied to both the substrate and the tile, but you can also periodically lift a tile after placing it to confirm that the mortar is adhering well with no voids or trowel lines. This visual inspection should reveal a complete transfer of mortar to the tile back, indicating good adhesion. If you identify any inconsistencies, such as dry spots or clumping, adjust your technique accordingly.
For larger tiles, use a technique called “beat in” by gently tapping the tiles into the mortar bed with a rubber mallet to guarantee full contact and eliminate air pockets. This meticulous approach to achieving even mortar coverage will significantly reduce the likelihood of future tile movement or breakage due to uneven support.
The Right Curing Time to Maximize Adhesion
Allowing the correct curing time for mortar or adhesive is crucial to maximizing roof tile adhesion, as premature loading or disturbance can weaken the bond. The curing time varies based on the product, but generally, a period of 24 to 48 hours is recommended for the initial set, with a full cure taking up to 28 days depending on environmental conditions and mortar type.
Follow the manufacturer’s instructions for specific curing times. For example, rapid-setting adhesives may cure within a few hours, while standard-setting mortars require a longer period. It’s critical to protect the newly laid tiles from rain, frost, or excessive heat during the initial curing phase. Timing your installation to avoid adverse weather will allow the mortar to cure undisturbed, ensuring the best possible adhesion and a durable, long-lasting finish.
After installation, refrain from any foot traffic on the roof for at least 48 hours, and consider covering the tiles with a protective sheet if expecting immediate rain or heavy dew, which can help maintain optimal curing conditions.
Regular Maintenance and Inspection
- Scheduled Cleaning: Regularly clean your roof tiles to prevent the buildup of dirt, debris, and organic growth that can compromise tile adhesion. For example, gently pressure washing the tiles annually can remove accumulations that might otherwise lead to moisture retention and the degradation of adhesive bonds.
- Adhesive and Mortar Checks: Periodically inspect the adhesive and mortar for signs of wear, such as cracking or crumbling, which could indicate that the bond is weakening. Early detection allows for prompt repairs before any significant damage occurs, such as spot-fixing with fresh adhesive.
- Sealant Application Review: Reassess and reapply sealants as needed, especially around roof penetrations like chimneys or vent pipes, where water infiltration is more likely. For instance, checking the sealant condition after each season can help catch failures that might lead to leaks and adhesive deterioration.
- Structural Integrity Assessment: Make sure the underlying roof structure remains sound, as movement or damage can affect the tiles’ adhesion. Regularly inspect rafters and sheathing for integrity; for example, look for signs of rot or insect damage that could compromise the roof’s stability.
- Grout and Joint Maintenance: Examine the grout or joints between tiles for any gaps or cracking. These can allow water to seep beneath the tiles, reducing adhesion over time. Addressing issues with fresh grout can prevent water damage and maintain adhesion integrity.
- Weather Event Inspections: After extreme weather events like heavy storms, hail, or strong winds, inspect your roof for damaged tiles or compromised adhesion that may have resulted from the conditions. Replace or repair any affected areas promptly to prevent further damage to the adhesive bond.
- Professional Evaluations: Consider having a professional roofing contractor inspect your roof every few years to assess the adhesive quality and overall tile condition. They can identify potential issues that may not be apparent to the untrained eye and suggest maintenance or repairs to extend your roof’s lifespan.
- Proactive Replacement Planning: While regular maintenance can extend the life of your roof tiles and their adhesion, be mindful of their lifespan and plan for eventual replacement. Keep records of installation dates and product warranties to make informed decisions about when a full replacement may become necessary.
Getting Professional Help When Necessary
Seeking professional help for roof tile installation or repair is crucial when the task exceeds your expertise or when the roof’s condition poses potential safety risks.
Professionals possess the training, experience, and tools necessary to diagnose issues accurately and perform repairs or installations safely and efficiently. For example, if you notice persistent leaks despite regular maintenance, a professional can assess whether there’s an underlying issue that DIY methods can’t resolve, such as structural damage or widespread adhesive failure.
Utilize resources like our website directory, Big Home Projects, which offers a curated list of reputable roofing professionals. By choosing a skilled contractor from Big Home Projects, you can guarantee that complex tasks—like replacing underlayment, repairing weather damage, or ensuring proper tile adhesion—are handled correctly, with adherence to building codes and manufacturer specifications, thereby protecting your home and extending the life of your roof.