
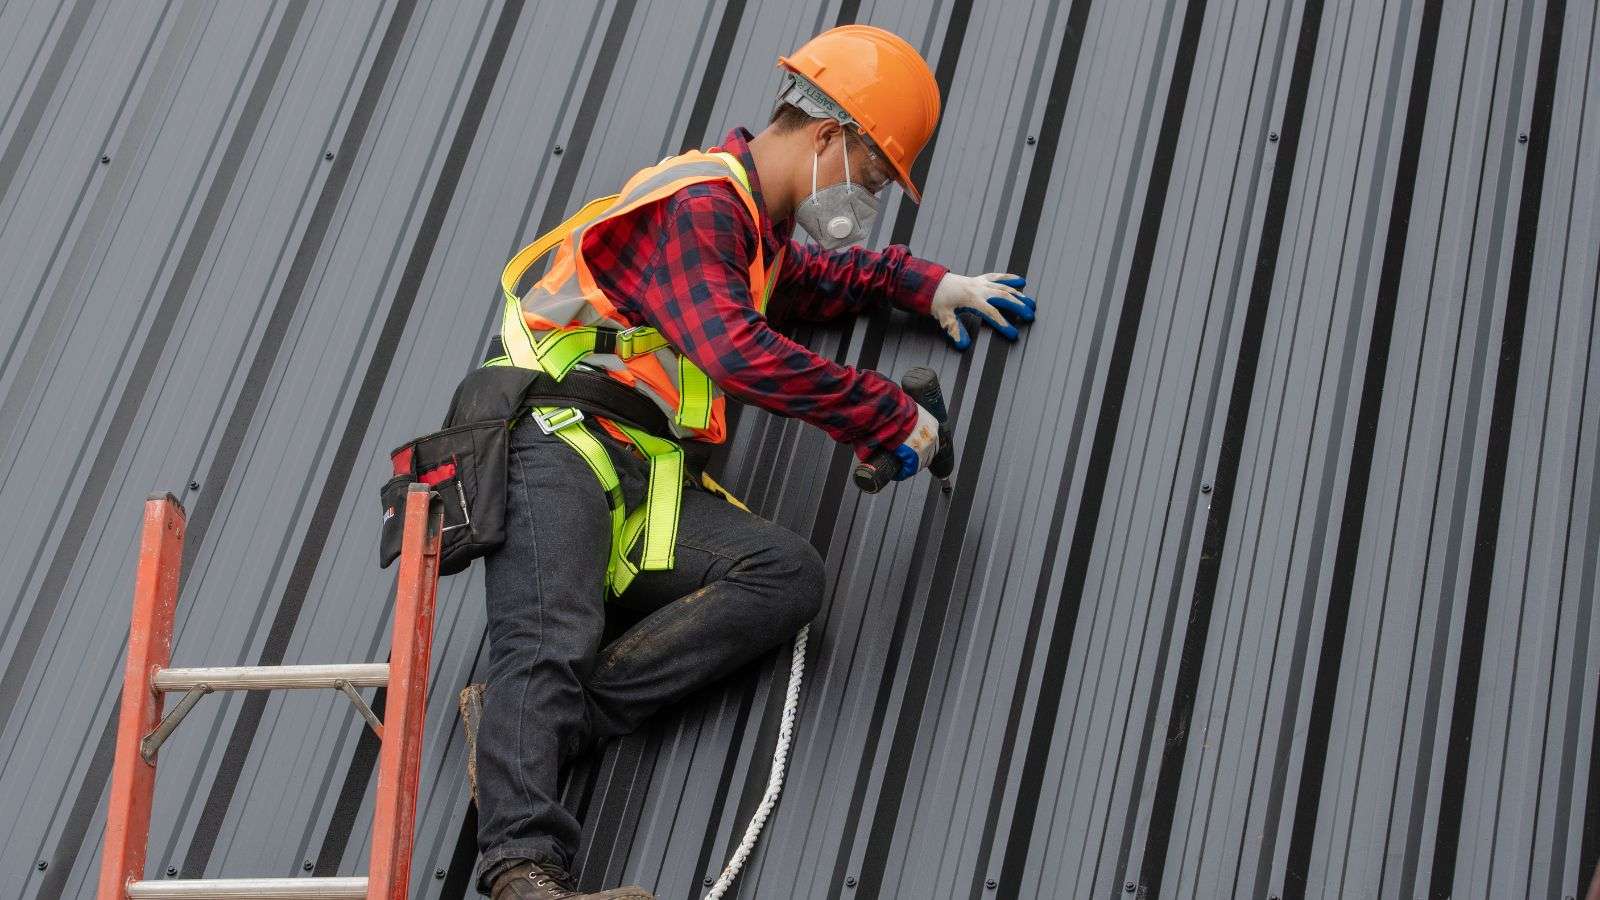
Embarking on the journey of installing an aluminum roof can feel intimidating for the uninitiated. Certain key knowledge, ranging from the materials required to how to optimize for durability, can transform this project from daunting to entirely manageable.
In this article, we take an extensive look into ten different aspects of the process to make sure you have a comprehensive understanding of how to tackle aluminum roofing installation effectively.
What materials and tools do I need for the installation?
- Screws
- Screwdriver
- Drill
- Level
- Measuring tape
- Pliers
- Hammer
- Wrench
- Nails
- Saw
- Paintbrush
- Paint roller
- Sandpaper
- Caulking gun
- Utility knife
- Safety goggles
- Gloves
How do I prepare the roof surface for aluminum roofing?
To prepare the roof surface for aluminum roofing, start by ensuring that the roof is clean and free from any debris or loose materials. Use a broom or a leaf blower to remove leaves, twigs, and other loose particles. Next, inspect the roof for any signs of damage or leaks and fix them before proceeding.
If there are any existing shingles, tiles, or other roofing materials, remove them carefully. It is important to have a smooth and even surface, so make sure to remove any old nails or protruding objects. Clean the roof surface thoroughly using a pressure washer or a solution of mild detergent and water. Allow the roof to dry completely before installing the aluminum roofing to maintain a proper bond and prevent any moisture-related issues.
How to install aluminum roofing
1. Prepare the tools and materials
Before you begin installing aluminum roofing, make sure you have all the necessary tools and materials ready. This includes aluminum roofing panels, screws, a drill, a screwdriver, a measuring tape, a chalk line, tin snips, safety goggles, gloves, and a ladder. Double-check that everything is in good condition and easily accessible before starting the installation process.
2. Measure and plan
Measure your roof accurately to determine the number of aluminum roofing panels needed. Make sure you have accounted for any overhangs or eaves. Create a detailed plan of how the panels will be laid out, considering the direction of water flow and any special features like chimneys or vents. Use a chalk line to mark guidelines on the roof surface to help with alignment during installation.
3. Install underlayment and flash
Before installing the aluminum panels, it is crucial to have a proper underlayment and flashing system in place. Apply a high-quality roofing underlayment to provide an additional layer of protection against moisture. Install flashing around edges, valleys, and any openings to prevent water infiltration.
4. Start from the bottom
Begin installing the aluminum roofing panels at the bottom edge of the roof. Align the first panel with the chalk line you marked earlier, ensuring it is parallel to the eaves. Use self-drilling screws to secure the panel to the roof deck, placing them in the pre-drilled holes provided by the manufacturer. Be careful not to overtighten the screws, as this can damage the panels.
5. Overlap and secure panels
Overlap subsequent panels according to the manufacturer’s instructions, typically around 6 inches. This overlapping design helps water run off smoothly without seeping between the panels. Secure each panel using screws, making sure they are evenly spaced along both sides of the panel.
6. Trim and fit panels
As you reach the edges or encounter obstacles like chimneys or vents, you may need to trim and fit the aluminum panels accordingly. Use tin snips to cut panels to size, ensuring accurate measurements for a precise fit. Take your time during this step to achieve clean cuts and minimize waste.
7. Seal and finish
After all the panels are installed, inspect the roof for any gaps or exposed edges. Apply sealant or caulking around these areas to create a watertight seal and prevent leaks. Double-check that all screws are properly tightened and secured.
8. Clean up and maintenance
Once the installation is complete, clean up any debris or leftover materials from the roof and surrounding area. Regularly inspect your aluminum roof for any signs of damage or wear and perform routine maintenance as needed to ensure its longevity.
Can I install aluminum roofing over old shingles?
In some cases, it is possible to install aluminum roofing over old shingles, but it is generally recommended to remove the old shingles before installing the new roof. Removing the old shingles allows for a clean and smooth surface, ensuring better adhesion and reducing the risk of any issues with the new roofing system. Removing the old shingles allows for a thorough inspection of the roof deck, enabling any necessary repairs to be made before installing the aluminum roofing.
But if local building codes and rules allow it and the old roof is in good shape with no signs of damage or moisture problems, a skilled roofer might be able to put the new aluminum roof right on top of the old shingles after carefully inspecting the job and taking the right safety measures.
What kind of underlayment should I use?
When it comes to choosing an underlayment for aluminum roofing, there are a few options to consider. The most commonly used underlayment for aluminum roofing is synthetic underlayment. It is lightweight, durable, and offers excellent water resistance. The synthetic underlayment is also breathable, allowing moisture to escape from the roof while still providing a protective barrier against water infiltration.
Another option is asphalt-saturated felt underlayment, which has been used for many years in roofing applications. It provides good protection against water and acts as an additional layer of insulation. However, it is heavier compared to synthetic underlayment and may require more effort during installation.
How do I properly secure the aluminum panels?
Start by aligning the first panel with the chalk line or reference point you marked earlier, ensuring it is parallel to the eaves. Use self-drilling screws specifically designed for metal roofing to secure the panel to the roof deck. Place the screws in the pre-drilled holes provided by the manufacturer, typically along the ridges or high points of the panel.
Be careful not to overtighten the screws, as this can damage the panels. Instead, tighten them just enough to secure the panel without causing any distortion. As you continue installing subsequent panels, overlap them according to the manufacturer’s instructions, typically around 6 inches.
This overlapping design helps water run off smoothly without seeping between the panels. Secure each panel using screws, making sure they are evenly spaced along both sides of the panel. Double-check that all screws are properly tightened and secured to ensure a secure and watertight installation.
What is the best way to handle flashing and edging?
First of all, make sure you are using high-quality flashing materials specifically designed for metal roofing applications. Proper flashing is important for preventing water infiltration and protecting vulnerable areas such as edges, valleys, and openings. Install flashing around these areas, following the manufacturer’s guidelines and local building codes.
Use appropriate fasteners and sealants to secure the flashing in place, ensuring a watertight seal. Take care to properly overlap the flashing to direct water away from the critical areas. Pay attention to the edging of the roof. Install edge trim or fascia to provide a finished look and to protect the exposed edges of the aluminum roofing panels. Secure the edging securely using appropriate fasteners, ensuring that it is properly aligned and level.
How do I cut and customize aluminum panels for unique roof features?
Start by carefully measuring the dimensions of the feature or area that requires customization. Transfer these measurements onto the aluminum panel, marking the areas that need to be cut or shaped. Use a pair of tin snips, also known as aviation snips, to cut the aluminum panel along the marked lines. Tin snips are designed specifically for cutting metal and provide better control and precision.
Take your time and make smooth, steady cuts to achieve clean edges. If you need to create more intricate or curved shapes, a jigsaw with a metal-cutting blade can be used. Remember to wear appropriate safety gear, such as safety goggles and gloves, when cutting and handling aluminum panels. After cutting the panels, test the fit and make any necessary adjustments before securing them in place.
What should I do to ensure proper ventilation?
First, assess the current ventilation system in your attic or roof space. Adequate intake and exhaust vents are essential for proper airflow. Make sure there are enough vents and that they are properly positioned to allow for air circulation. Intake vents are typically located near the eaves or soffits, while exhaust vents are placed higher up on the roof or near the ridge.
Clear any debris or blockages from the vents to maintain unrestricted airflow. Consider installing a ridge vent or other types of ventilation systems that allow hot air to escape from the attic. These systems help prevent the buildup of heat and moisture, which can lead to various issues such as mold growth or premature aging of the roofing materials. Proper insulation is also important, as it helps maintain a consistent temperature and reduces the risk of condensation.
How do I maintain my aluminum roof for maximum durability?
Regularly inspect your roof for any signs of damage, such as loose or damaged panels, rust, or leaks. Address any issues promptly to prevent further damage. Clean your roof periodically to remove dirt, debris, and leaves that can accumulate and potentially cause water pooling or other problems. Use a soft brush or broom to gently sweep away debris, and rinse the roof with a hose if necessary.
Avoid using harsh chemicals or abrasive materials that can scratch or damage the surface of the aluminum. Check and clean the gutters and downspouts regularly to provide proper drainage and prevent clogging. Trim overhanging branches that could potentially damage the roof during storms or strong winds. As the manufacturer suggests, give the aluminum roof a protective coating or paint.
This can help enhance its durability and resistance to weathering. Overall, regular maintenance and timely repairs are key to ensuring the longevity and performance of your aluminum roof.
Are there any potential installation challenges or pitfalls to watch for?
- Improper measurements: Accurate measurements are crucial for a successful installation. Failing to measure the roof correctly can result in panels that don’t fit properly or leave gaps for water infiltration.
- Inadequate underlayment: Using insufficient or low-quality underlayment can compromise the overall performance of the roof. Make sure you choose the appropriate underlayment that provides sufficient protection against moisture.
- Improper fastening: Incorrectly securing the aluminum panels can lead to loose panels, leaks, and potential damage. Follow the manufacturer’s guidelines for fastening and spacing the screws to provide a secure and watertight installation.
- Inadequate ventilation: Poor ventilation can lead to heat buildup and moisture problems in the roof space, potentially causing damage to the aluminum panels or compromising their performance. Ensure proper intake and exhaust vents are in place for adequate airflow.
- Inadequate flashing and edging: Improper installation of flashing and edging can result in water seepage and damage around vulnerable areas such as valleys, edges, and openings. Follow proper techniques and use high-quality materials to ensure effective protection.
- Lack of professional assistance: Installing aluminum roofing can be challenging, especially for those without prior experience. It’s best to seek professional assistance to maintain proper installation and avoid costly mistakes.