
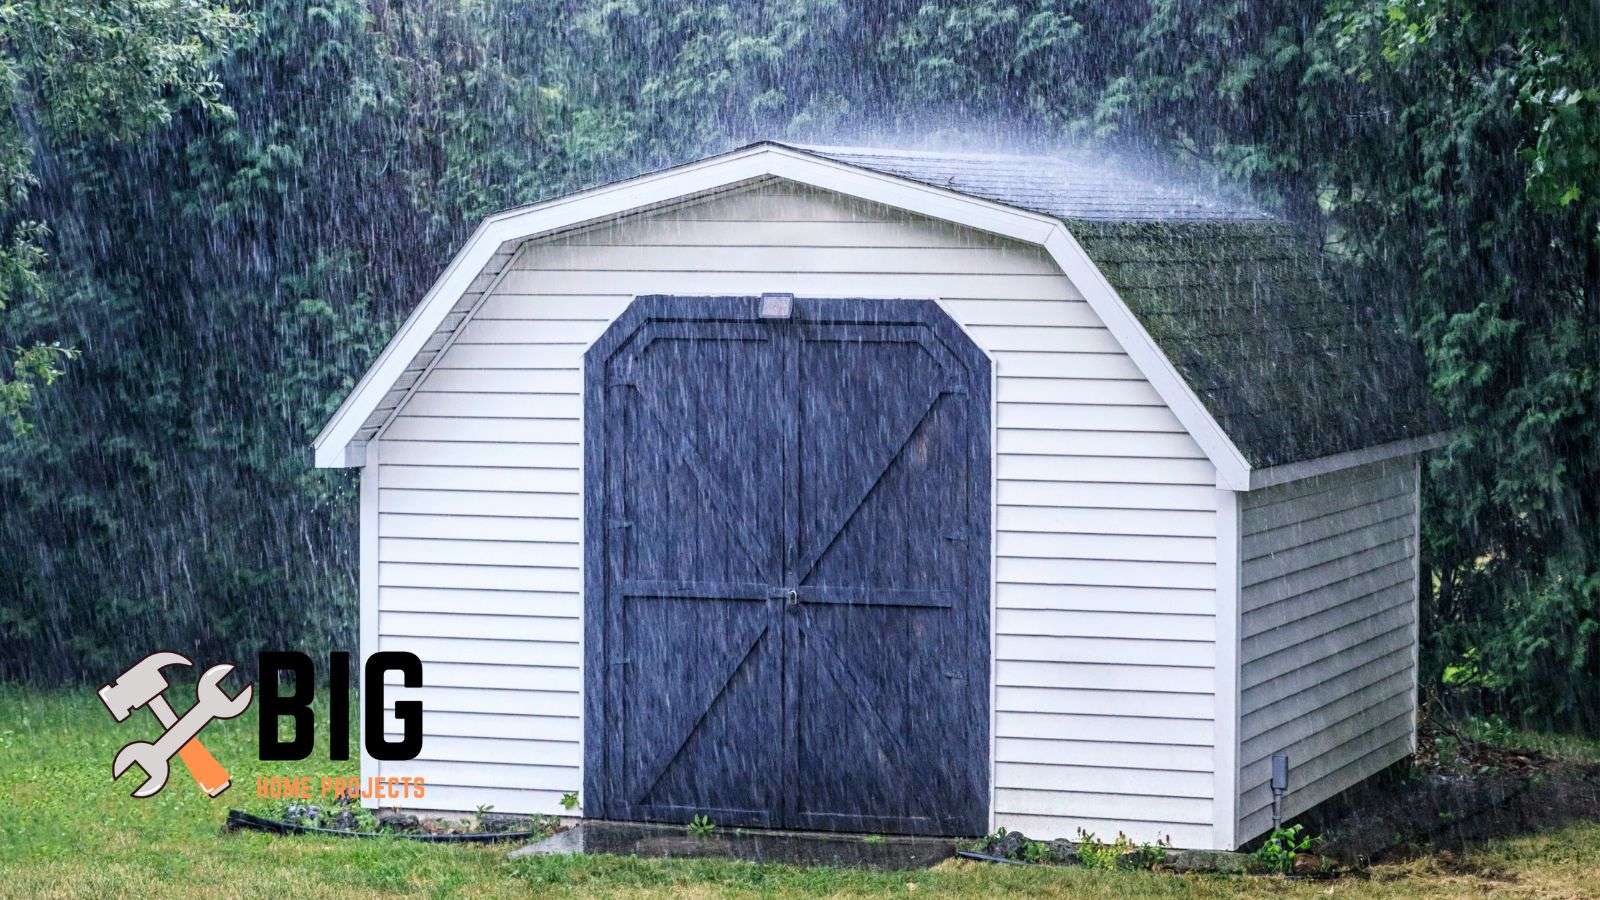
Roofing felt is a material that is often used in the construction of sheds. It is a type of insulation that helps to keep your shed cool and dry, but there are some questions about whether or not it should be used in certain situations.
If you have ever wondered if you need to install roofing felt on your shed, then this article will help you understand what it does and why it might be necessary for your particular situation.
Is roofing felt necessary on a shed?
Yes, roofing felt is necessary on a shed. Here’s why:
Between the roof deck and the shingles or other roofing material, roofing felt acts as a protective layer. It acts as a barrier against water, wind, and other elements that can cause damage to the roof.
Without roofing felt, water could seep into the cracks and seams of the roof deck, causing rot and decay over time. This can lead to leaks, which can damage the interior of the shed and even the things you store there.
Also, wind can lift and move shingles, which can lead to damage or even the complete loss of the roofing material.
Roofing felt is a cheap and effective way to protect your shed’s roof, and it can extend the life of the roof by several years. It typically costs less than $0.10 per square foot and takes only a few hours to install.
This makes installing roofing felt on your shed a simple and cost-effective way to protect your investment and extend the life of your roof.
The benefits of roofing felt on a shed
Waterproofing and protection from moisture and leaks
Roofing felt keeps water out and keeps leaks from happening by acting as a barrier between the roof deck and the shingles or other roofing material.
This helps to prevent water from seeping into cracks and seams, which can cause rot, decay, and leaks over time.
Protection from weather conditions
Roofing felt helps to protect the roof from damage caused by hail, wind, and other weather conditions. The felt acts as a barrier against wind, which can lift and move shingles, causing damage or complete loss of the roofing material.
It also helps to protect against hail, which can cause dents and cracks in shingles, reducing their ability to protect against water and wind.
Protection from weather conditions
Roofing felt helps keep the roof insulated and heat-resistant by serving as a barrier between the roof deck and the outside elements.
It keeps the shed at the right temperature by stopping heat from escaping in the winter and coming in the summer.
Protection from debris and resin
Roofing felt acts as a barrier between dirt, leaves, resin, and other things that could damage the shingles.
It keeps these materials from getting under the shingles, which can cause them to become brittle and eventually break.
Barrier against pests and insects
Roofing felt provides a barrier against pests and insects. Pests and insects can cause significant damage to a roof over time by chewing through shingles and causing leaks.
The felt helps prevent these pests from accessing the roof and causing damage.
Easy installation and cost-effective
Roofing felt is easy to install and inexpensive, and it will save you money from leaks in the long run. The felt typically costs less than $0.10 per square foot and takes only a few hours to install.
By providing waterproofing and protection from damage, the felt will extend the life of the roof and save you money on repairs and replacements over time.
Protection against ice seepage with ice and water shield
When Ice and Water Shield is used with roofing felt, it keeps melting ice from getting under the shingles.
Ice and Water Shield is a type of roofing felt that is designed to protect against ice damming, which occurs when ice accumulates at the edge of the roof and melts, causing water to seep underneath the shingles and cause damage.
Ice and Water Shield helps to prevent this damage by providing a waterproof barrier against ice and water.
Who needs to use roofing felt on a shed?
Anyone with a shed that has a low-pitched or flat roof should use roofing felt.
Steep-pitched roofs are less likely to experience moisture, leaks, and wind damage issues15, so they may not require roofing felt.
However, sheds with low-pitched or flat roofs are more susceptible to these issues and should use roofing felt for added protection.
In areas prone to heavy rain, strong winds, and hail, roofing felt is especially important. Without the right protection, these weather conditions can do a lot of damage to a roof, which can lead to leaks and structural problems.
Roofing felt helps protect the roof from these things, so the roof lasts longer and the inside of the shed stays safe.
In areas with harsh winter conditions, roofing felt using Ice and Water Shields is especially important.
Ice damming can cause significant damage to a roof, and without proper protection, water can seep under the shingles and cause leaks.
Ice and Water Shield protects the roof from ice and water by putting up a waterproof barrier. This keeps the roof safe and makes it last longer.
How to install roofing felt on a shed?
- Start by setting the roll of roofing felt on the roof and put a set nail towards the top at the place you would normally nail it. Make sure the roofing felt is straight, but don’t pull it too tight.
- Next, put another set nails in the roofing felt and make sure it is secured. Be careful not to step on the roofing felt until it is secured with nails.
- Cut the roofing felt to extend past the edge of the roof. Repeat the process from the other side, making sure to overlap the roofing felt by 4 inches.
- Once the roofing felt is in place, nail off the edges and put another row of nails in the roofing felt. Make sure the nails are flat, as you don’t want any of them poking through the shingles.
- Code in most states requires the roofing felt to have three rows of nails – 6 inches apart on the edges and 12 inches apart in the field.
- Make sure to follow the code requirements in your area, and remember that speed isn’t as important as making sure the nails are flat.
The process involves starting by laying the roll of roofing felt on the roof, nailing it in place to secure it, cutting it to size to fit the roof, and then nailing it off to secure it in place and prevent it from slipping or shifting.
The key is to make sure the nails are flat and not protruding, as they will eventually be covered by shingles.
It’s also important to follow the building codes and rules in your area, which may tell you how to nail things.
What type of roofing felt is best for a shed?
The best type of roofing felt for a shed would be asphalt-saturated organic felt. This kind of roofing felt lasts a long time, doesn’t get wet, and makes a strong barrier against the weather.
It’s also a cost-effective option that is widely available and easy to install. Organic felt is made from recycled paper fibers that have been soaked in asphalt. This gives it the strength and resistance to water that it needs.
This type of roofing felt is also ideal for sheds, as it is relatively lightweight and easy to handle, making it a good choice for DIY projects.
There are different weight options for roofing felt, with 15 lb and 30 lb being the most common.
For a shed, a 15-lb roofing felt is usually sufficient; however, for larger or more exposed sheds, it may be necessary to use a 30-lb roofing felt to protect against the elements.
There are alternative roofing materials to the roofing felt that can be used on a shed, including synthetic underlayment and EPDM (ethylene propylene diene monomer) roofing.
Synthetic underlayment is made from a blend of polyethylene and other synthetic materials and is designed to provide a waterproof barrier for the roof.
It lasts longer than traditional roofing felt and can handle high temperatures, UV light, and other harsh weather conditions.
Synthetic underlayment is much lighter than roofing felt, making it easier to handle and install on a roof.
EPDM is a single-ply rubber roofing membrane that is ideal for flat or low-slope roof applications.
EPDM is strong, flexible, and lasts a long time. It can also handle being exposed to high temperatures, UV rays, and bad weather.
It’s also easy to put together, and it’s very resistant to wind uplift and water penetration. This makes it a great choice for sheds in places with strong winds and heavy rains.
How much roofing felt do I need for a shed?
To determine how much roofing felt you need for a shed, follow these steps:
- Measure the roof pitch: Enter the attic of the shed and measure a 12-foot distance along the floor in the direction of the roof pitch. Measure the height of the roof above the floor at each end of the 12-foot distance. Subtract the lower height measurement from the larger height measurement to determine the roof pitch.
- Calculate the roof area: Measure the length and width of the shed at ground level in feet. Multiply the measurements to determine the total area covered by the roof. If the roof is irregularly shaped, break the structure into several rectangles and measure each separately.
- Apply correction factor: Multiply the total area determined in step 2 by a correction factor based on the roof pitch to account for the greater area of the roof due to the pitch.
- Account for waste: Multiply the result from step 3 by 1.10 to account for waste. Add another 10 to 25 percent to account for the added area if the roof has complicated hips and valleys.
- Convert to roofing squares: Divide the result from step 4 by 100 and round up to convert square feet to roofing squares. One roofing square equals 100 square feet.
- Purchase roofing felt: Rolls of roofing felt coverage are sold in rolls that are one square each.
What types of tools are needed when installing roofing felt on a shed?
When installing roofing felt on a shed, you will need the following tools:
- Measuring tape: To measure the length, width, and roof pitch of the shed.
- Utility knife: To cut the felt to size.
- Straight edge: To ensure straight cuts.
- Roofing hammer: To secure the felt to the roof deck.
- Nail gun: A pneumatic nail gun can make the installation process faster and easier.
- Safety gear: Including gloves, eye protection, and a hard hat.
- Roofing cement: To create a secure bond between the felt and the roof deck.
- Caulk gun: To apply the roofing cement.
- Roofing trowel: To spread the roofing cement evenly.
- Staple gun: To secure the felt to the roof deck.
How often should roofing felt be replaced on a shed?
Roofing felt on a shed usually lasts between 15 and 20 years, but this depends on many things, such as the quality of the material, how often and how bad the weather is, and how well the roof is taken care of.
Inspect the roofing felt every 5 to 10 years to check for any signs of damage, such as curling, cracking, or tears. If any of these signs are present, it’s best to replace the felt as soon as possible to avoid water damage to the shed.
It’s also a good idea to replace the felt if it is older than 20 years, even if it appears to be in good condition, as the material may start to deteriorate over time.
Are there alternatives to roofing felt that can be used on a shed?
Synthetic underlayment
Synthetic underlayment is an alternative to traditional roofing felt that is made of synthetic material, such as polypropylene.
It is lightweight, strong, and doesn’t tear easily, which makes it a popular choice for many roofing professionals.
Some synthetic underlayments also come with a built-in moisture barrier, which helps protect the roof deck from water damage.
Rubber underlayment or EPDM
Rubber underlayment, or EPDM, is a type of roofing material that is made from ethylene propylene diene monomer (EPDM), a synthetic rubber material.
It is very strong and can’t be torn or punctured, which makes it a good choice for sheds and other outdoor structures.
EPDM is also a flexible material, which helps to prevent it from cracking or splitting under temperature changes.
Self-adhered underlayment
Self-adhered underlayment is a type of roofing material that comes in rolls and is applied directly to the roof deck using a peel-and-stick method.
This type of underlayment is easy to put down and resists water very well.
It is also made to stick directly to the roof deck, so it fits snugly and securely. This makes it a popular choice for homeowners and roofing professionals alike.
Safety considerations when using roofing felt on a shed
Use the right equipment
It’s important to use the proper equipment when installing roofing felt. This includes a sturdy ladder, a safety harness, and gloves to protect your hands.
Check the weather
Always check the weather before starting your roofing project. High winds, rain, and snow can make roofing felt installation very dangerous. Wait for good weather conditions to begin the project.
Wear protective gear
Roofing work can be dangerous, so it’s important to wear protective gear, such as a helmet and eye protection.
Take breaks
Installing roofing felt can be physically demanding. Take breaks often to avoid fatigue and stay hydrated.
Work with a partner
Working with a partner can make the roofing project safer and easier. Having someone hold the ladder or help carry things can lower the chance of getting hurt.
What is the cheapest way to waterproof a shed?
The cheapest way to waterproof a shed is to use roofing felt as a barrier between the roof and the elements.
Using silicone roof coatings or asphalt roof coatings, which can be put on top of the existing roofing felt or material, are also cost-effective.
You could also use plastic roofing sheets or corrugated metal sheets, both of which are inexpensive and last a long time.
Does a shed need ventilation underneath the underlayment and roof?
Yes, a shed typically needs ventilation underneath the underlayment and roof. Having enough ventilation helps control the temperature and amount of moisture inside the shed, which can keep problems like mold, mildew, and rot from happening.
- Install ridge vents along the peak of the roof
- Put in gable vents near the roof’s edges
- Install soffit vents in the overhanging area at the eave
- Place roof louvers to allow air to circulate
- Use roof ventilation fans to push air out
- Place vents in the walls of the shed
- Create a system of ducts and vents to improve airflow
- Install vents in the floor of the shed to allow air to circulate
- Use natural ventilation by placing windows in the walls of the shed
- Consider adding a skylight to the roof to improve air circulation.
Proper ventilation also helps prolong the life of the roofing material and prevent damage to the interior of the shed.
Other interesting articles: